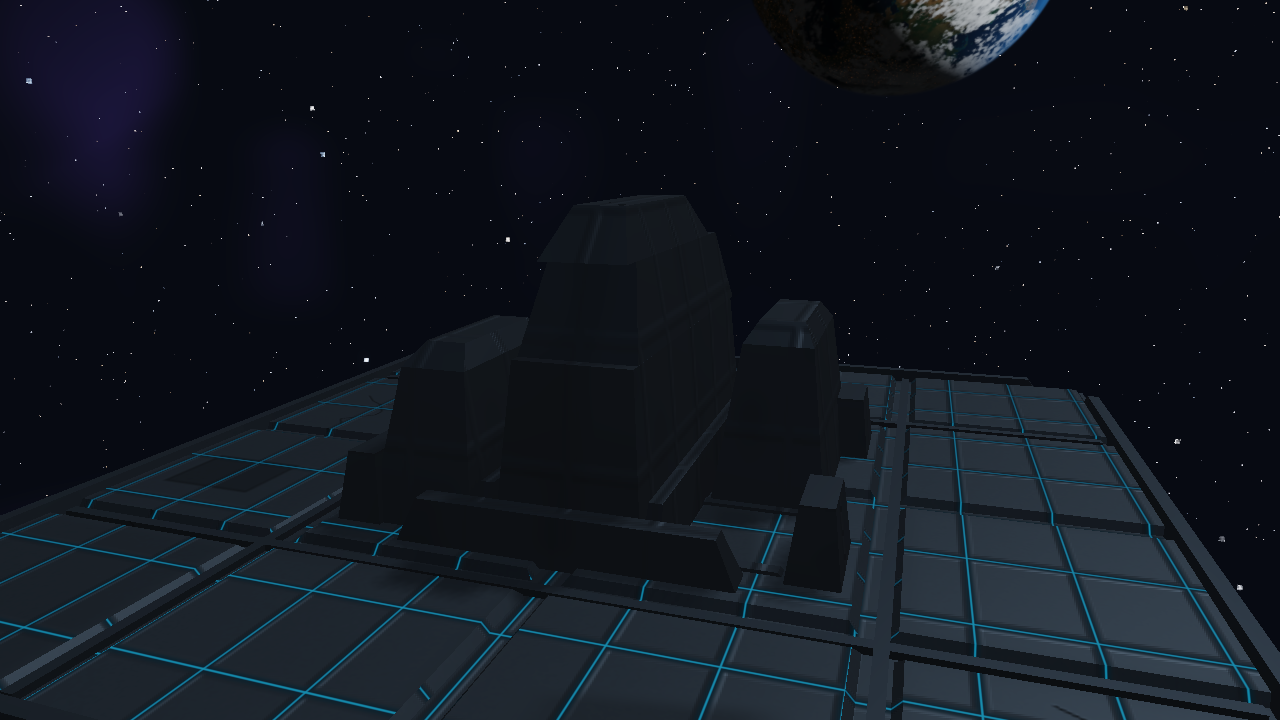
The Crown
Disciplined, coordinated and committed to one shared direction.
PLAYER HANDBOOK
Learn your controls, build a supply route and finish the battle. Then use the equipment guide to recognise what you meet in the arena.
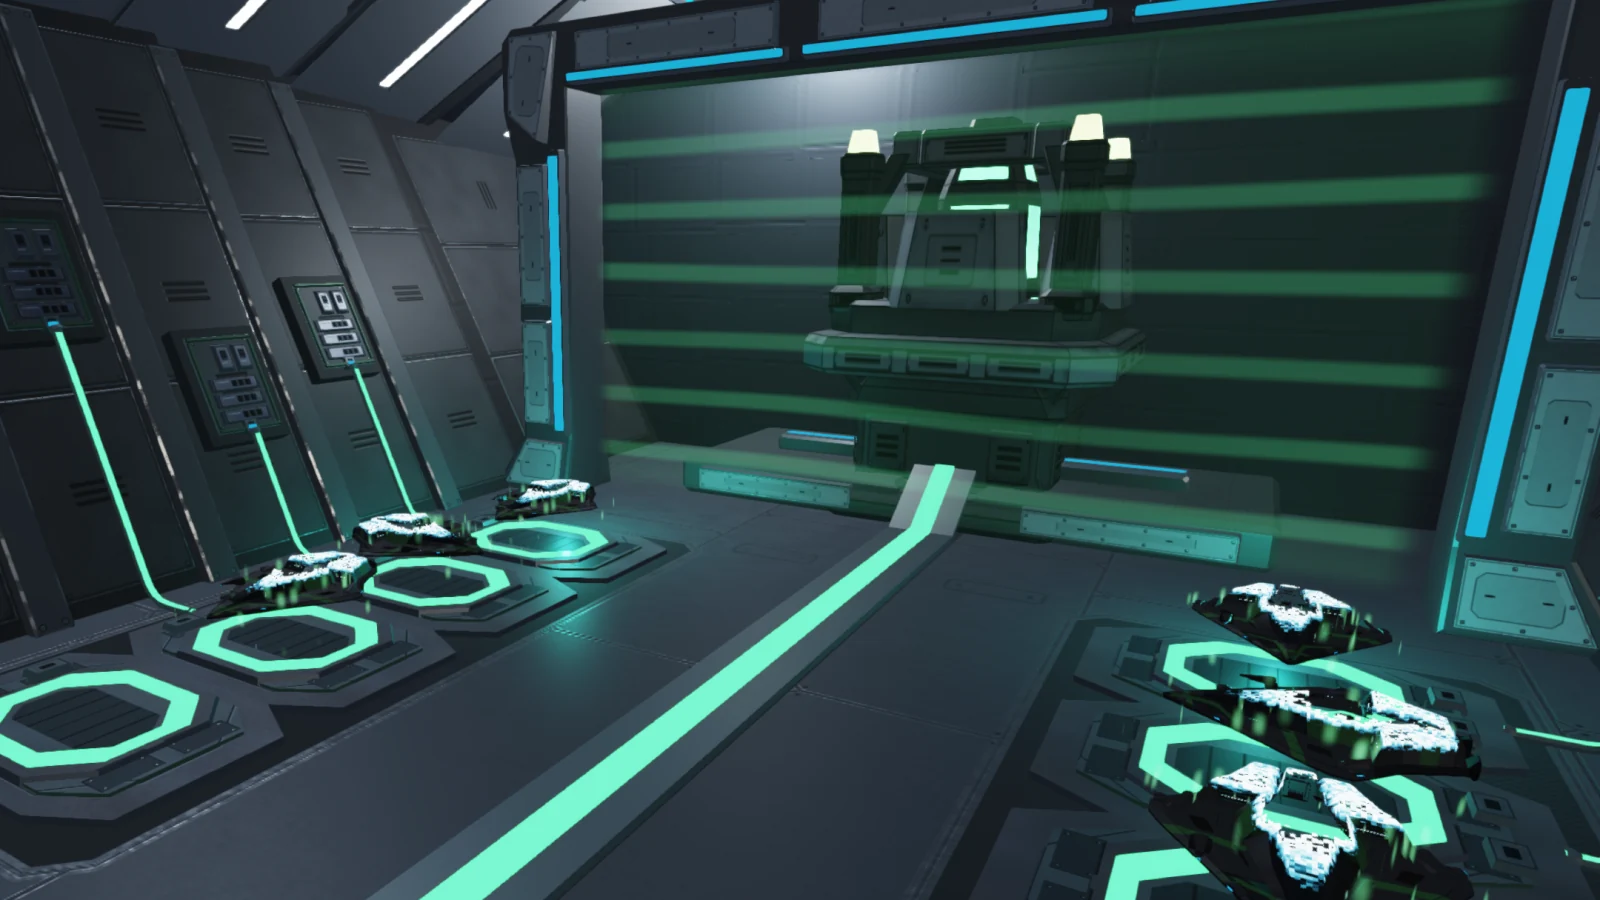
WHAT IS SCI-FI SPACE BATTLE?
The Intelligence ended scarcity and made war impossible.
It could not make humanity agree.
When the Crown and the Roots cannot decide what comes next, the Games decide.
Disciplined, coordinated and committed to one shared direction.
Communal, independent and committed to many possible futures.
Overwhelmingly powerful, impartial in the Games and unwilling to permit real warfare.
Safe simulations. Ships and structures can be lost; Operators cannot. Both sides accept that the outcome matters outside the arena.
FIRST BATTLE
Owning the field is not victory. Disable the exposed reactor and complete the automatic capture. You do not need to destroy every field tower.
FLIGHT & COMBAT
These are the default controls. You can change them in Player Settings; saved profiles may use different bindings. Your ship adjusts its hover height automatically. There is no jump or vertical-thrust control.
Plasma fires on release: tap for a normal bolt or hold up to 1.5 seconds for a larger shot that costs more energy. Beam fires while held, reaches 300 units and favours ship Shield over Hull Integrity. It cannot damage structures. Release after its three-second burst limit before firing again.
Cockpit follows Tactical in the camera cycle while you control a living PF-V2. Death, deployment or loss of control returns you to an exterior view. The cockpit radar is heading-up; the exterior minimap points toward the enemy base. Set cockpit field of view and impact motion in Camera settings.
SYSTEMS ARCHIVE
Recognise your weapons, the structures that power your team and the cover you can use in a fight.
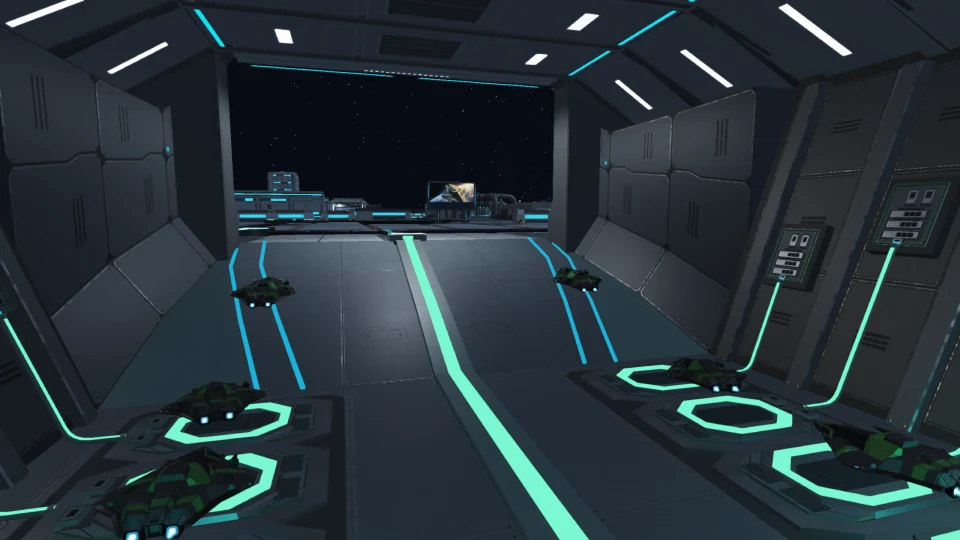
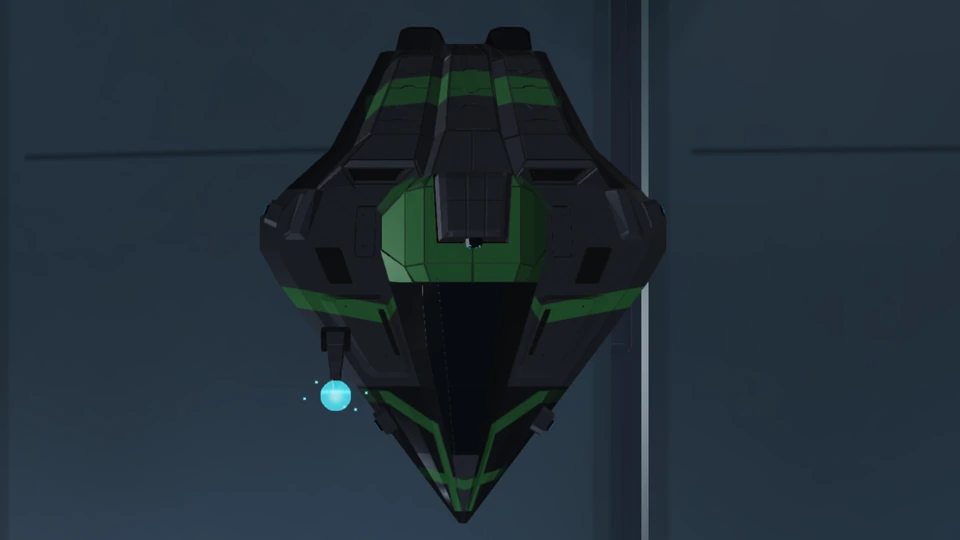
SHIP
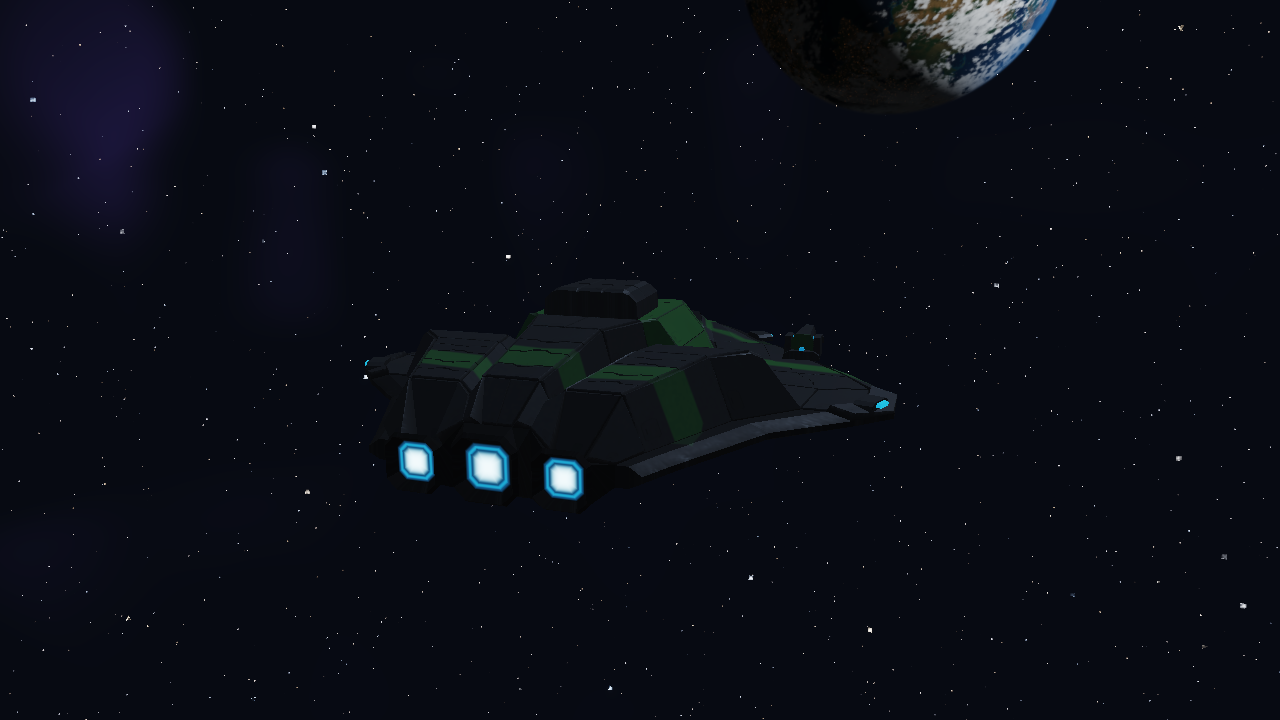
Fast multirole craft for branch defence, relay placement and strikes.
PRIMARY WEAPON
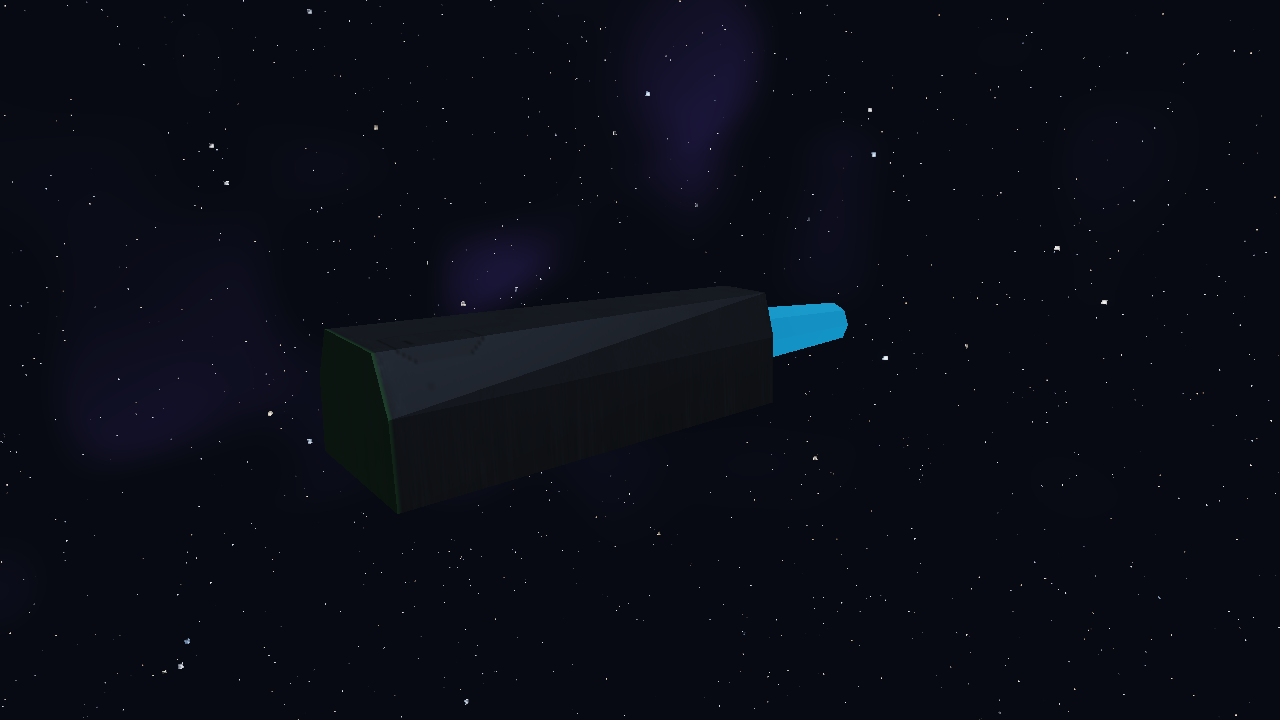
An articulated energy weapon for ships, tower hulls and the exposed reactor.
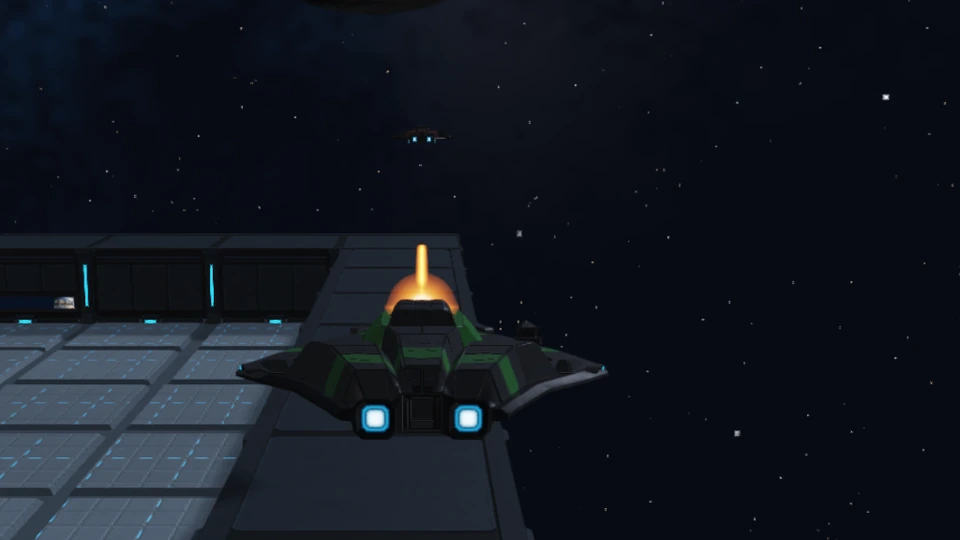
SECONDARY WEAPON
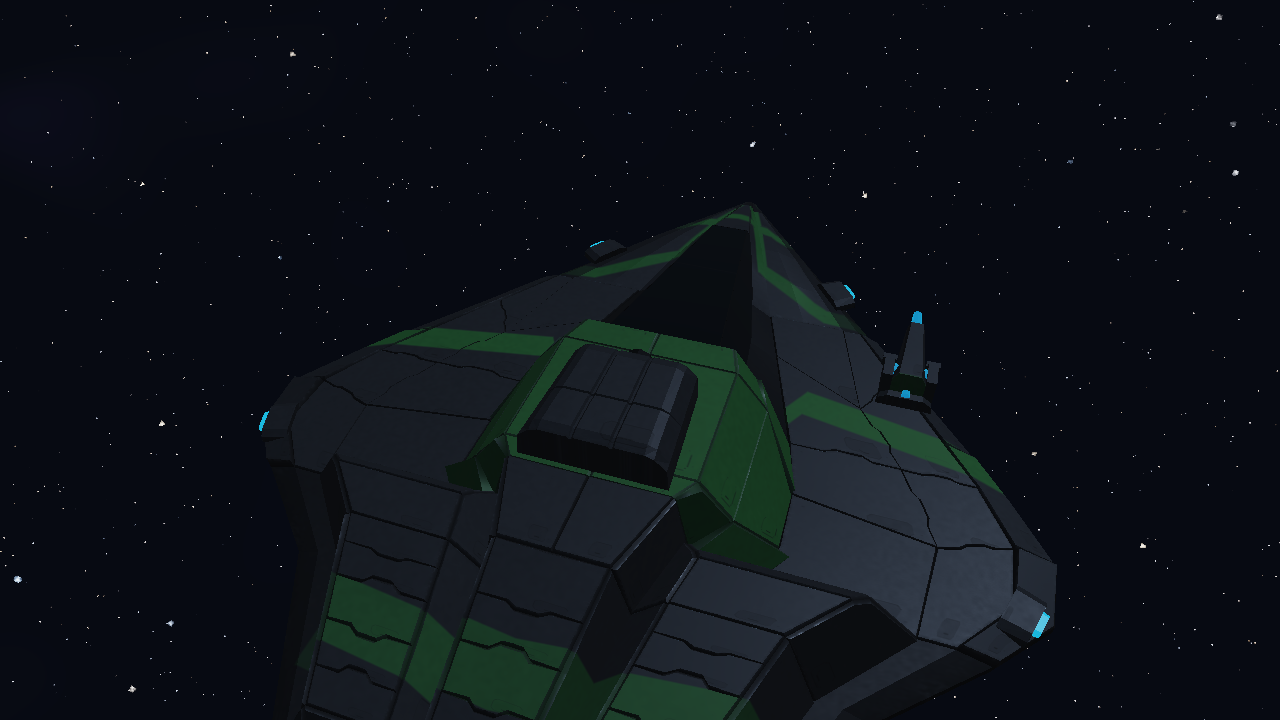
Three charged ordnance cells feed a single dorsal launch outlet.
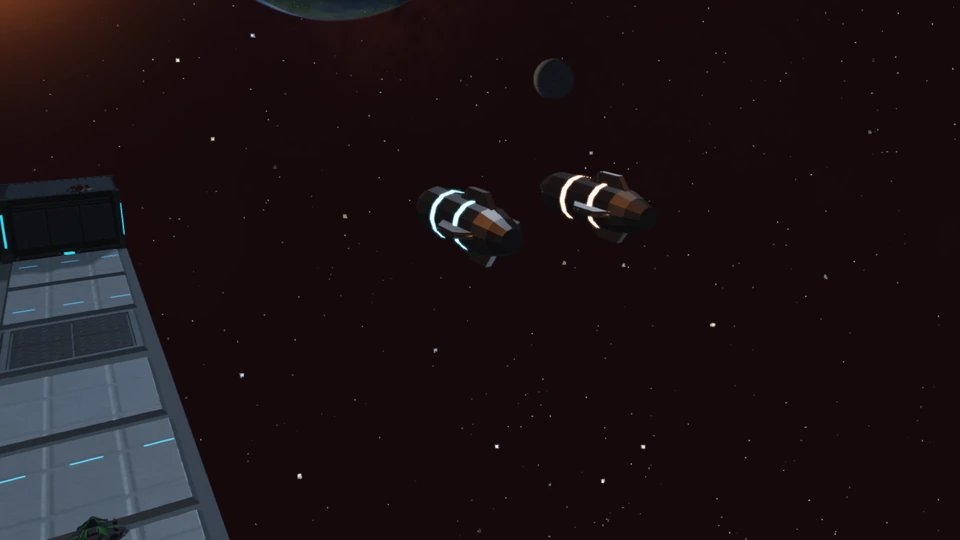
ORDNANCE
Guided rounds target hostile ships. Kinetic favours Hull Integrity; EMP favours Shield, with reduced damage carrying through when the Shield breaks. Damaging missile hits physically jolt ships along the impact direction; nearby blasts push ships away.
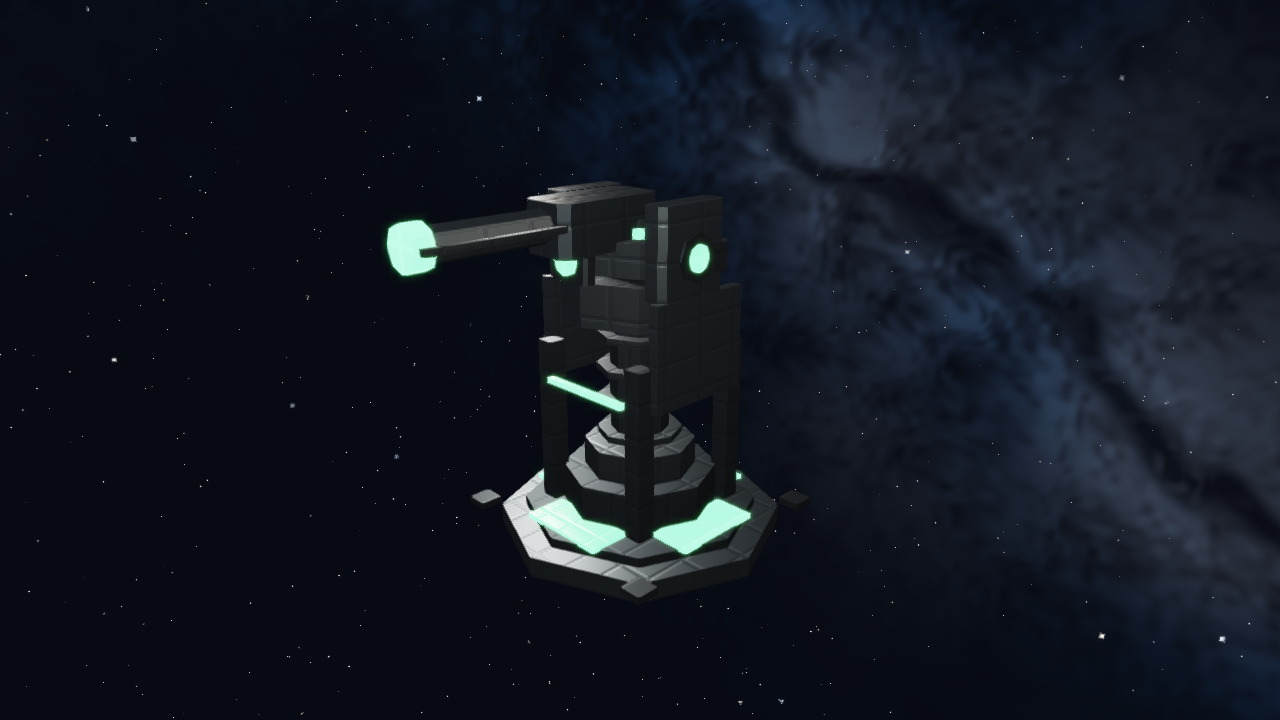
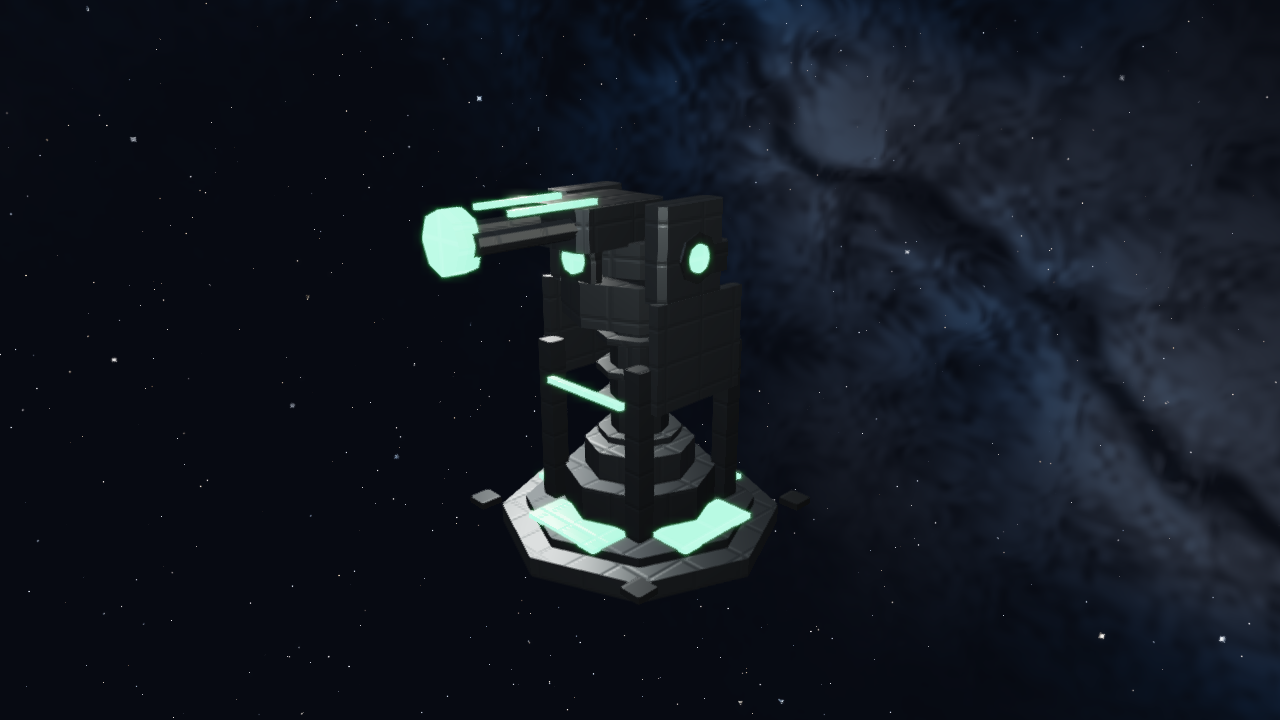
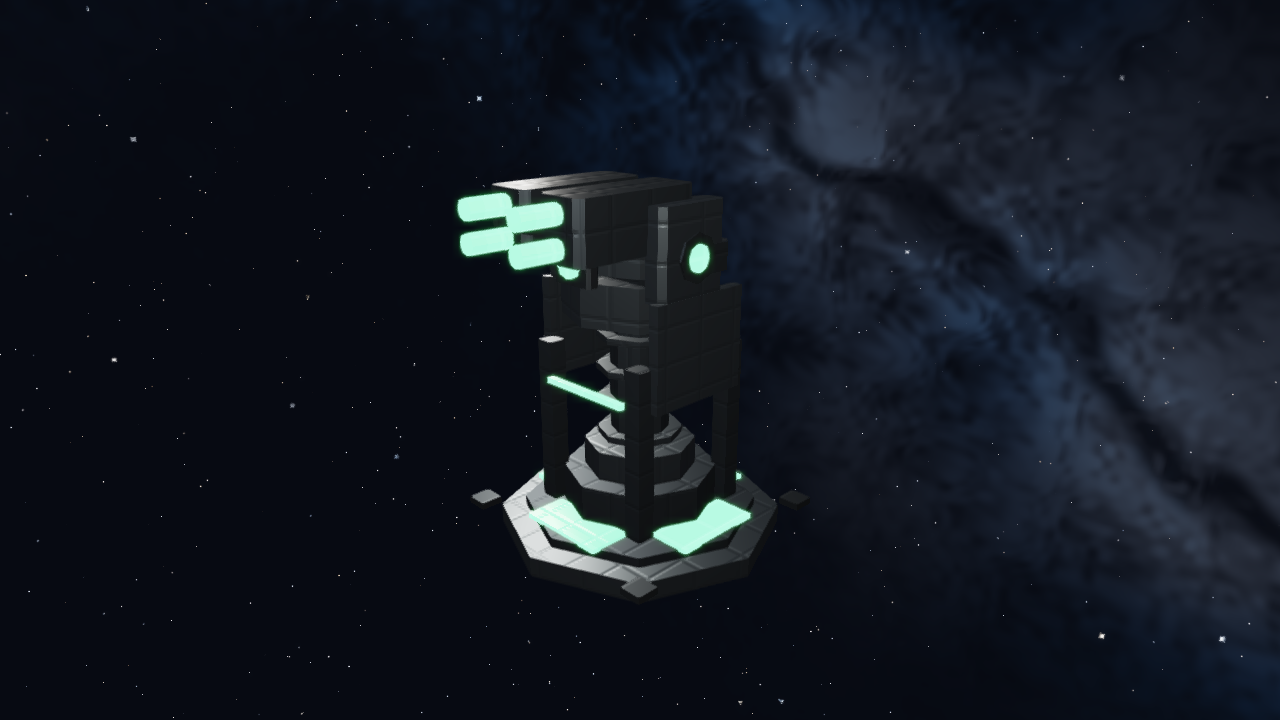
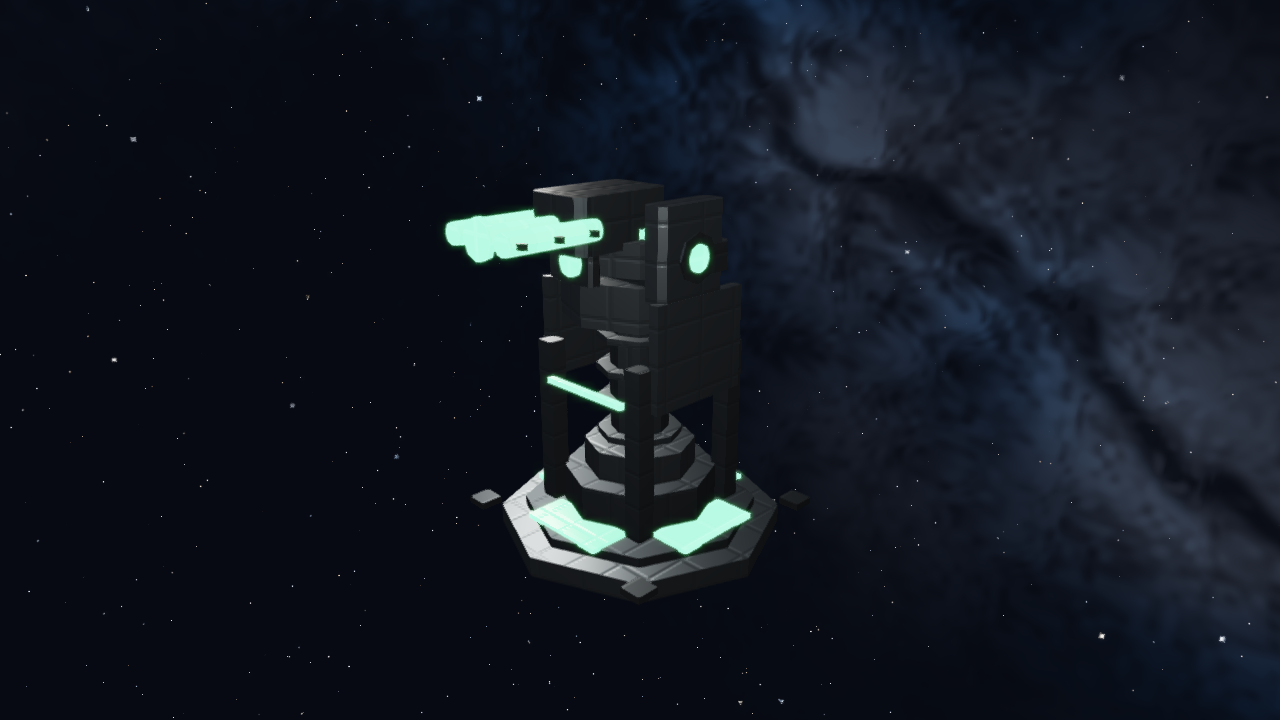
Four weapon configurations share one Grid-powered frame. Placement, supply and counterplay are described below.
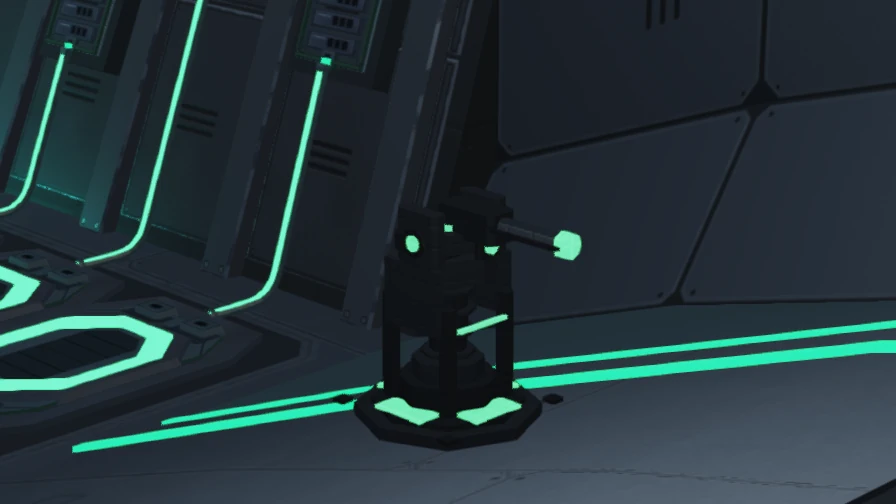
PLASMA AREA DEFENCE
Leads moving ships with plasma bolts. Prioritizes hostile solid turrets in range, then ships.
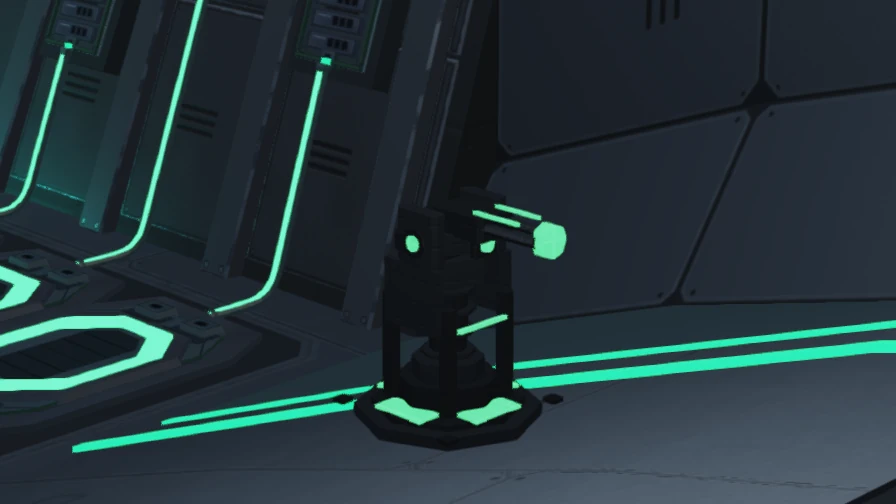
BEAM CLOSE DEFENCE
A sustained burn applies close-range pressure. Prioritizes hostile solid turrets in range, then ships.
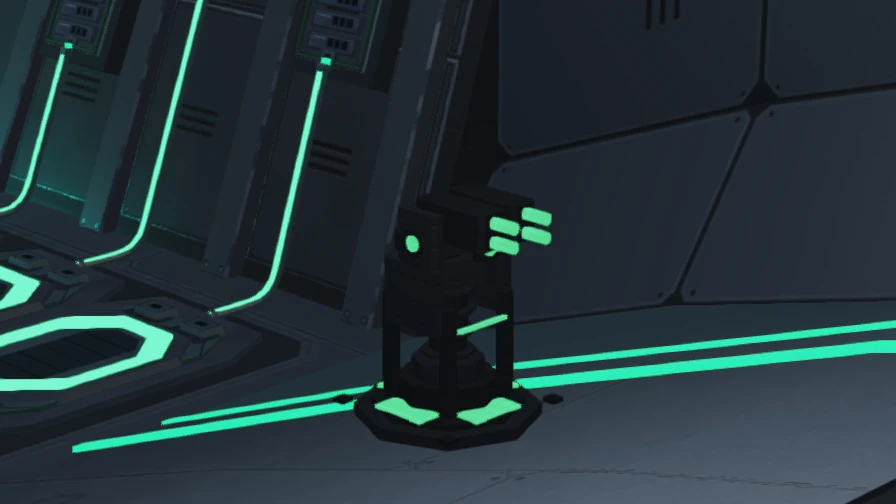
GUIDED HULL PRESSURE
Long-range guided anti-ship fire favours hull damage. Each launch spends the full turret capacitor.
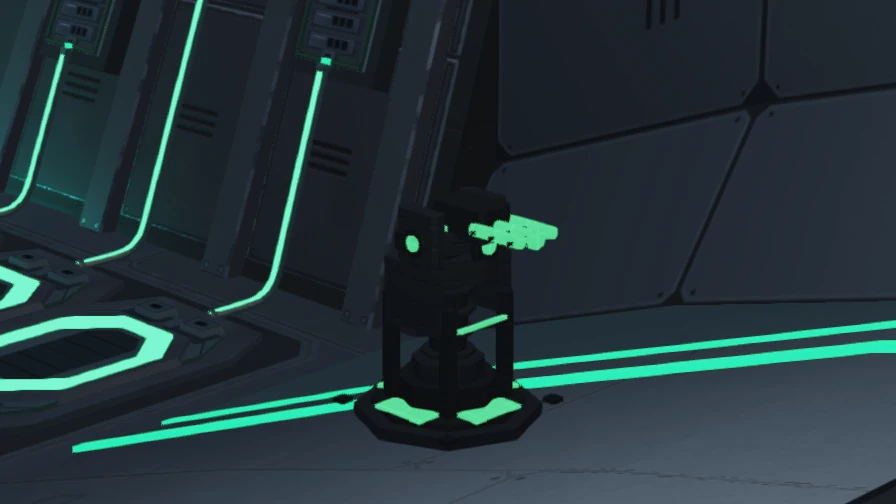
GUIDED SHIELD PRESSURE
Long-range guided anti-ship fire favours shields. A blast that breaks Shield carries reduced damage into Hull; regenerating a sliver does not absorb the whole blast. Each launch spends the full turret capacitor.
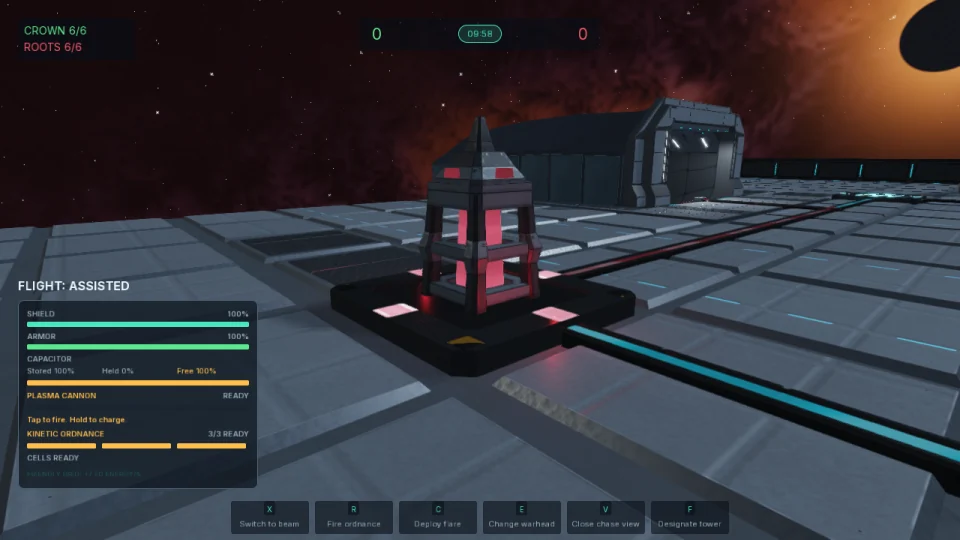
CONSTRUCTION
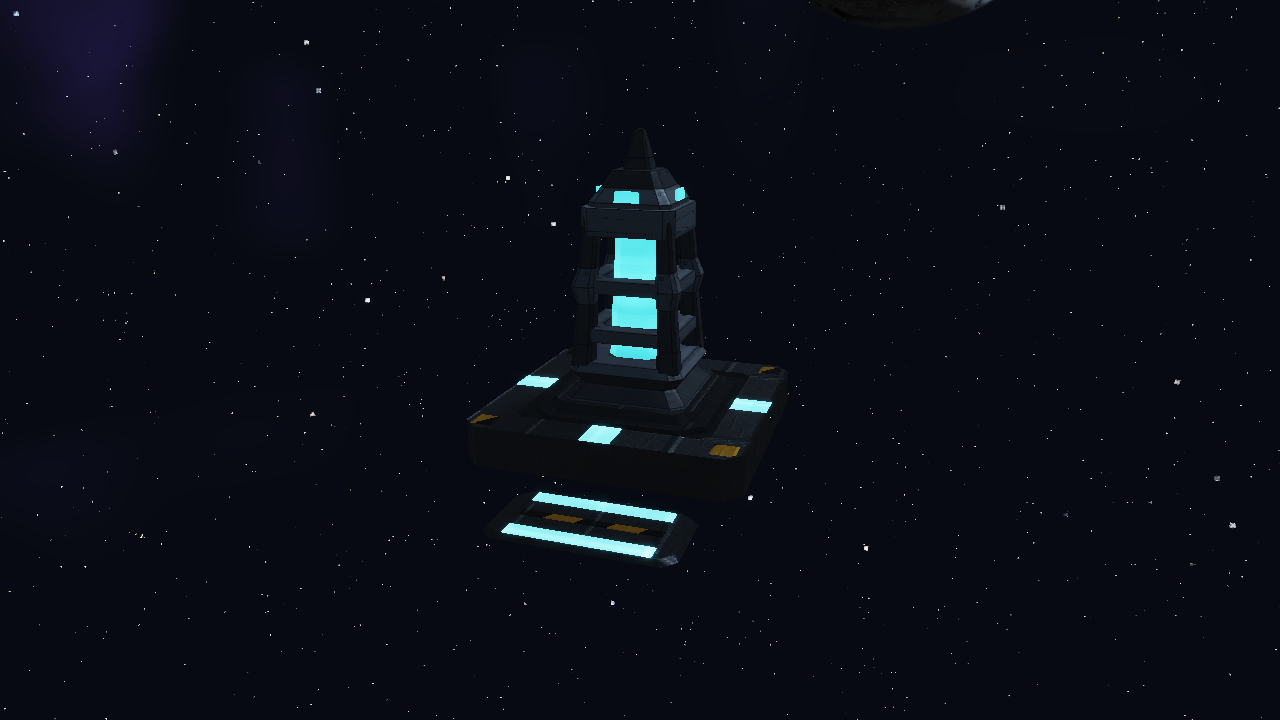
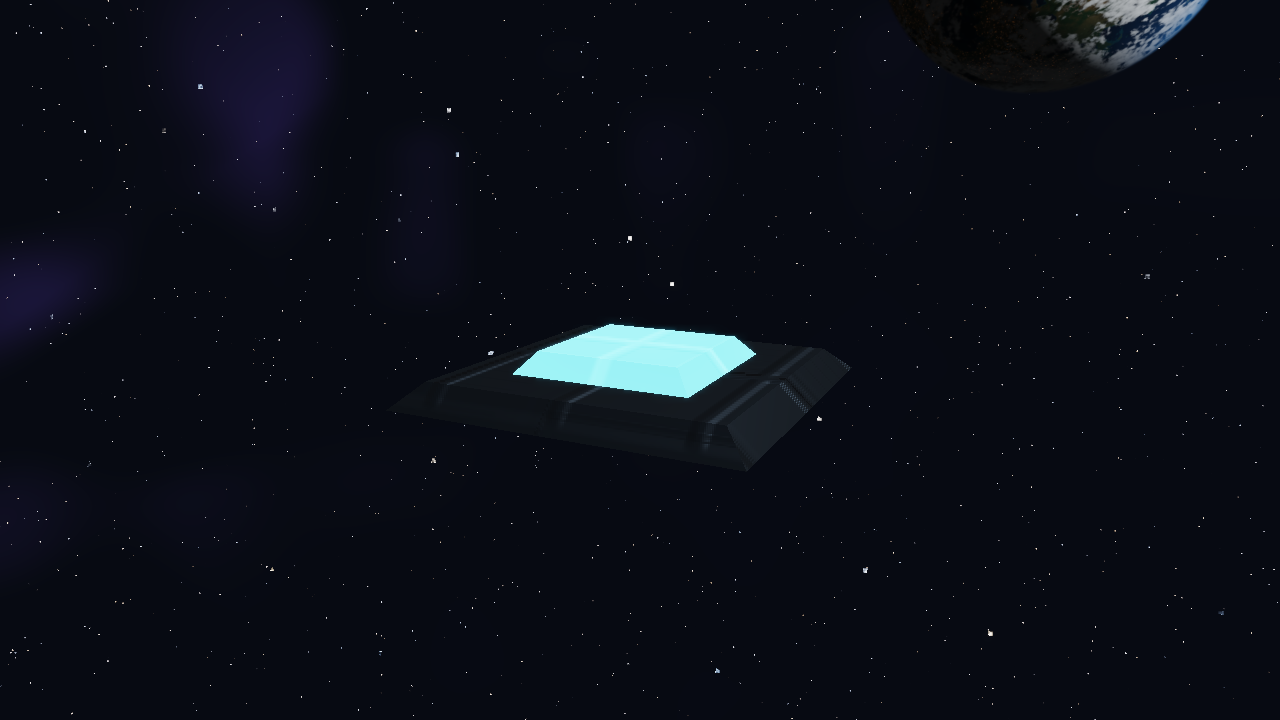
A permanent neutral socket, two-leaf hatch and lift for one fixed-size tower.
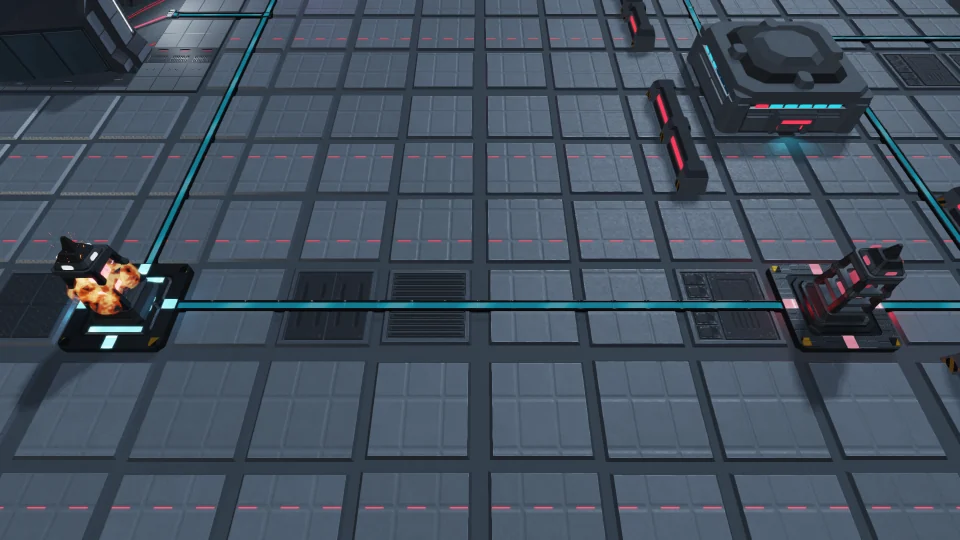
POWER NETWORK
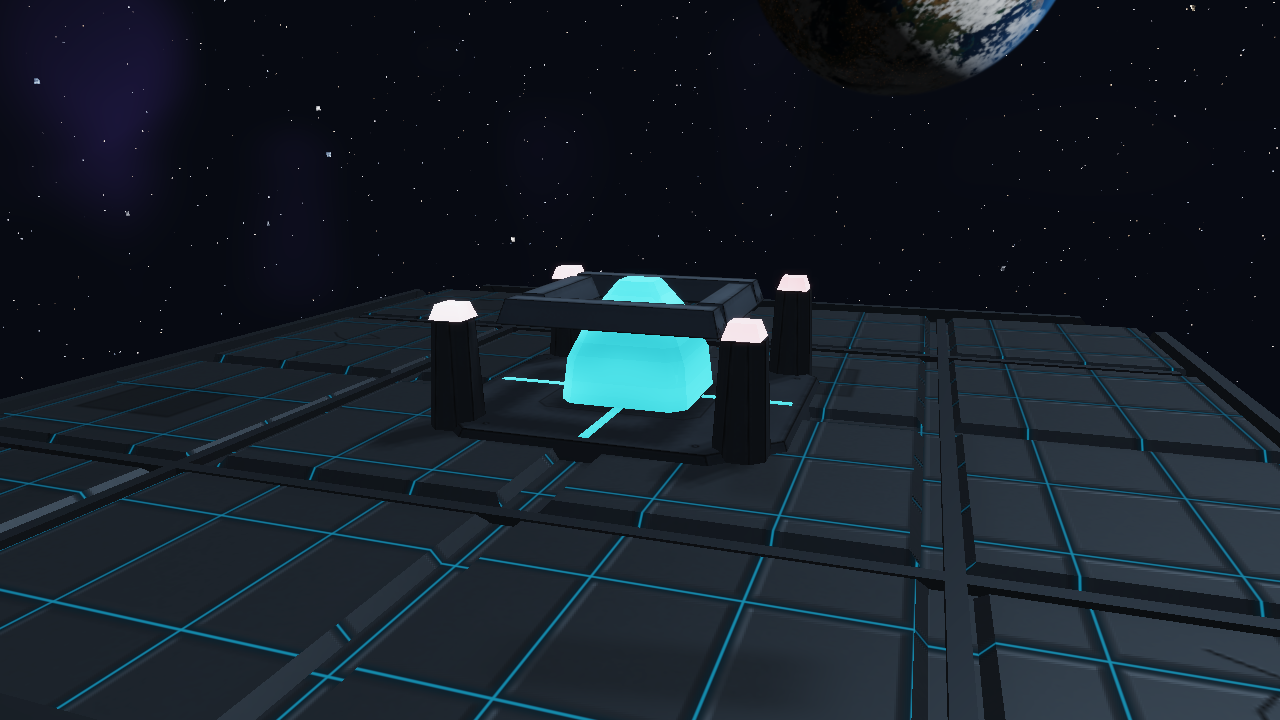
Extends a connected team branch and supplies nearby friendly ships.
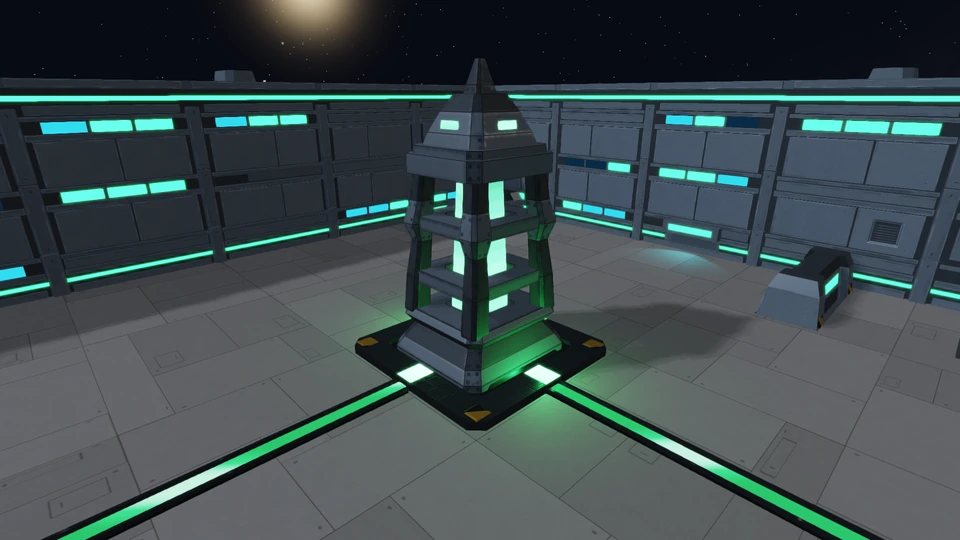
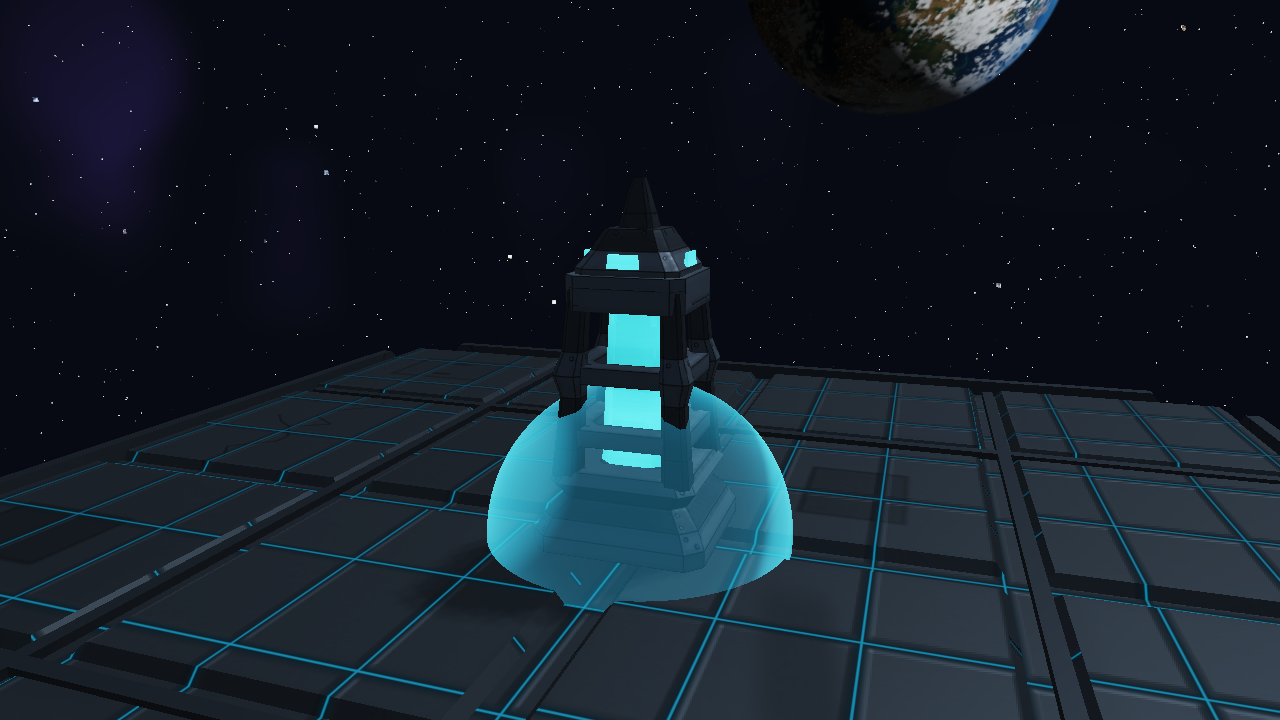
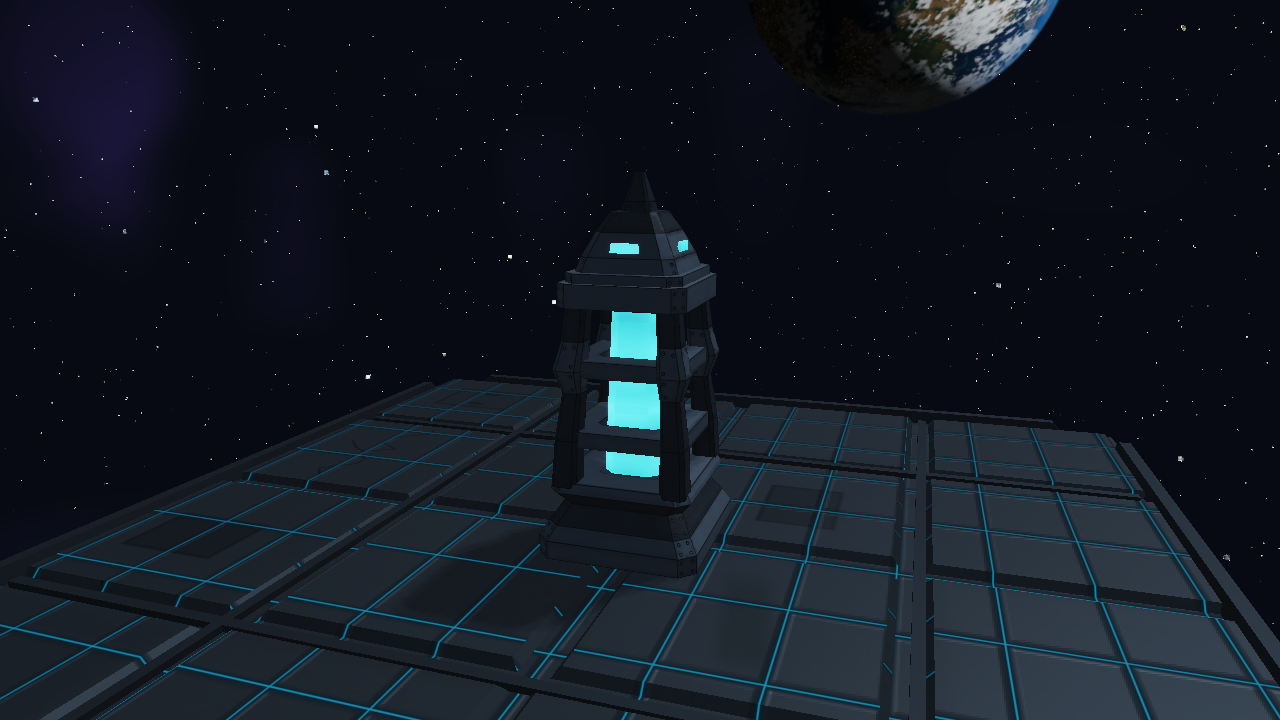
CONTESTED OBJECTIVE
A heavier field tower that supplies ships, drains nearby enemies and adds ownership score. It does not protect the hangar.
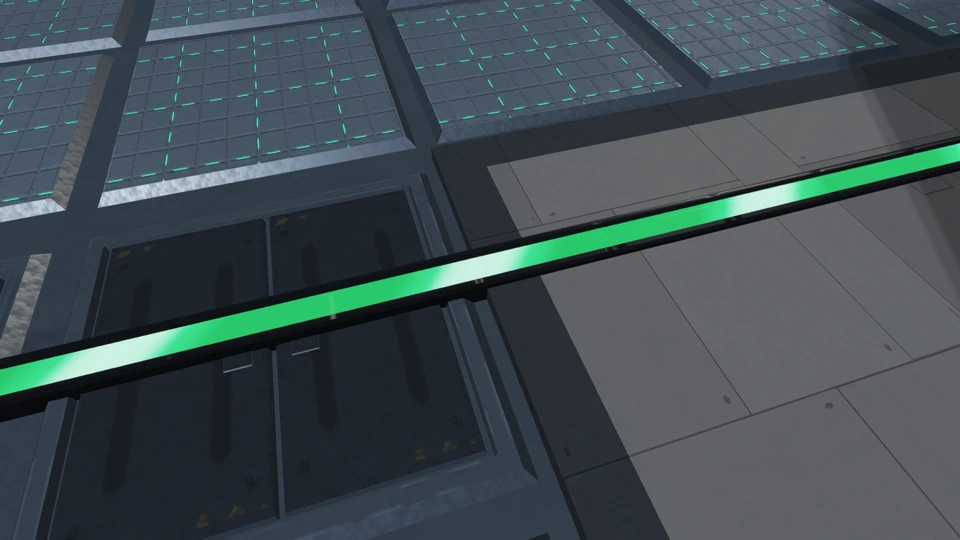
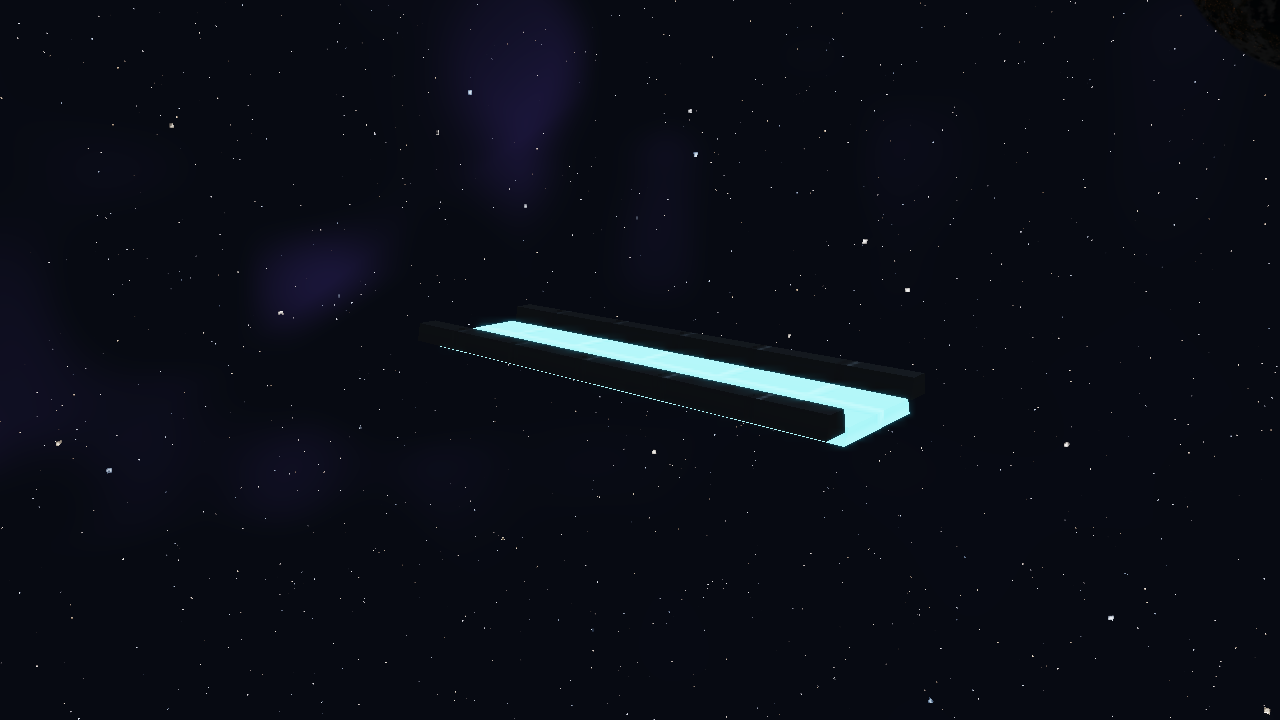
POWER ROUTE
The visible path between strategic sockets.
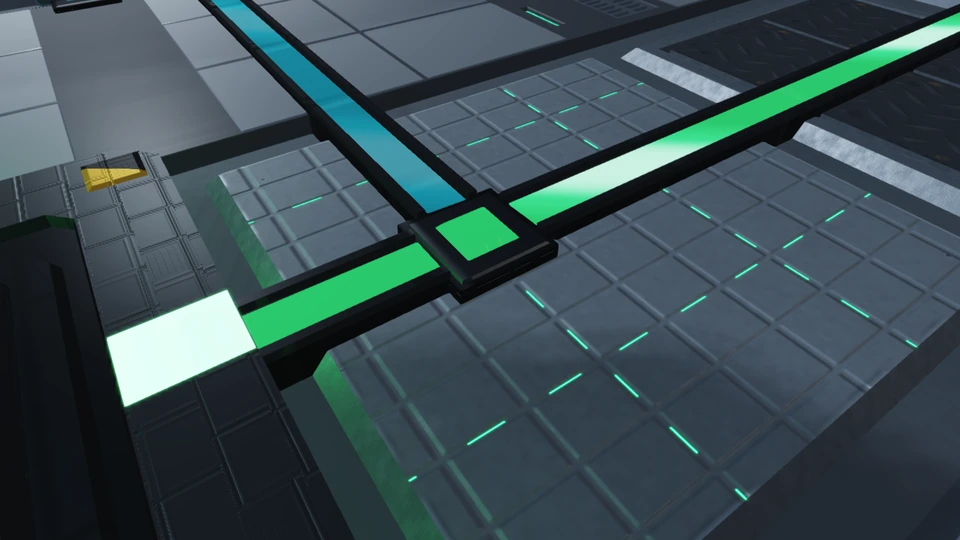
POWER ROUTE
Makes a branch or change of direction easy to read.
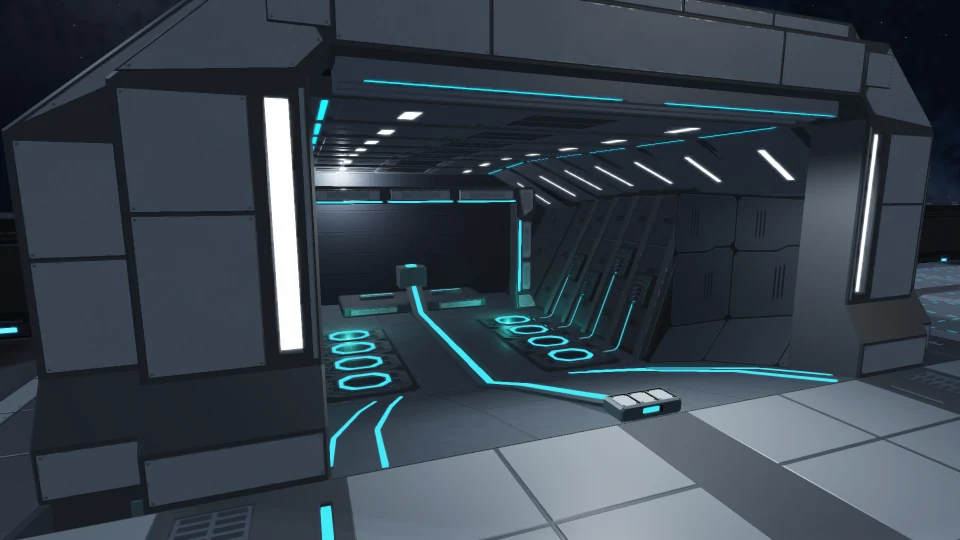
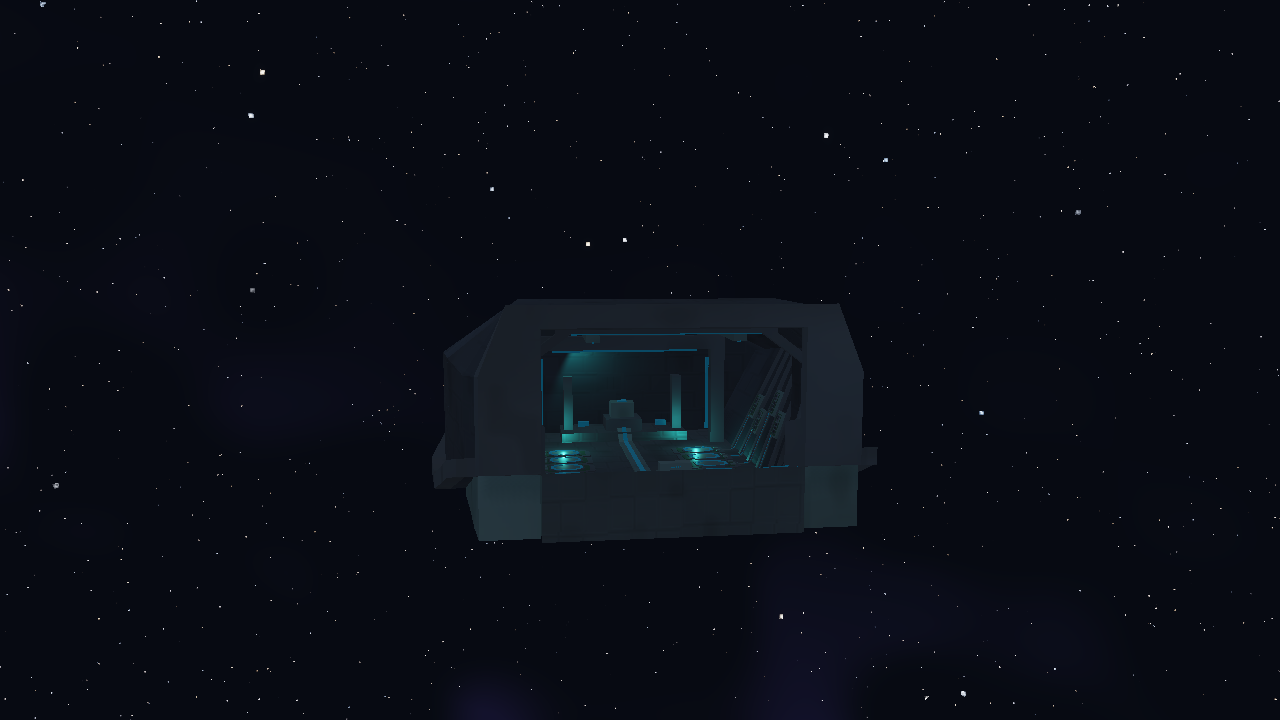
TEAM BASE
Your power root, return point, strongest local supply and final objective.
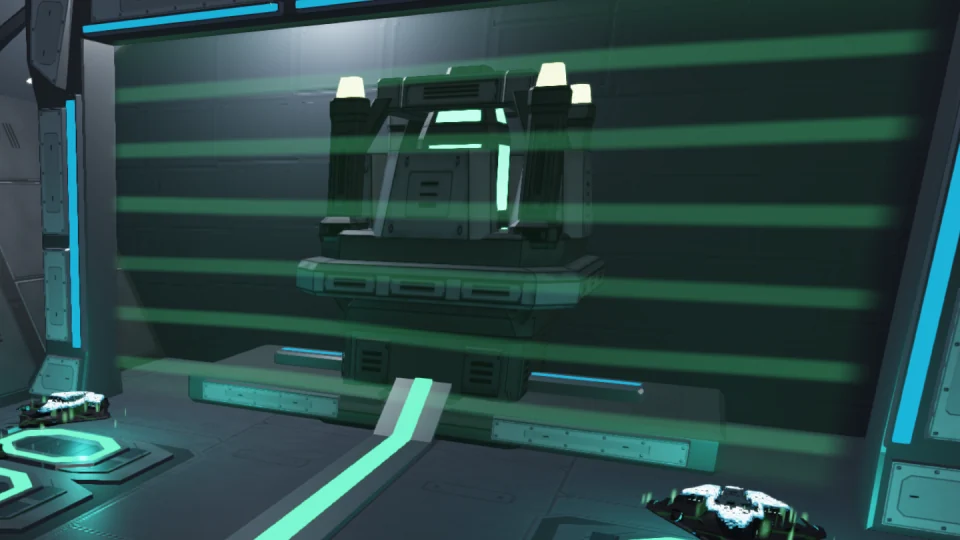
FINAL OBJECTIVE
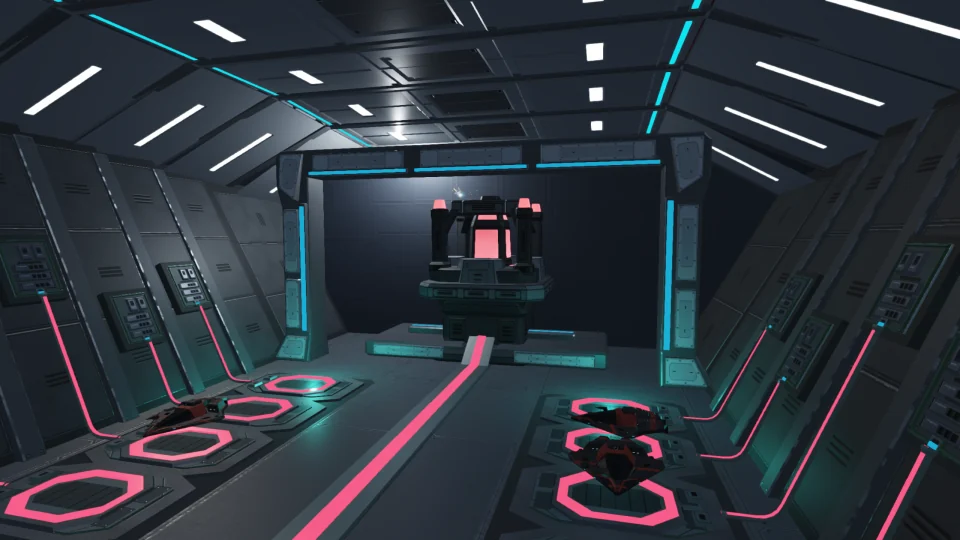
The bulkhead seals the rear chamber until the hangar is exposed.
Use ramps and open underpass tunnels for height changes. Structural shoulders, walls and sealed buildings are obstacles, not climbable routes.
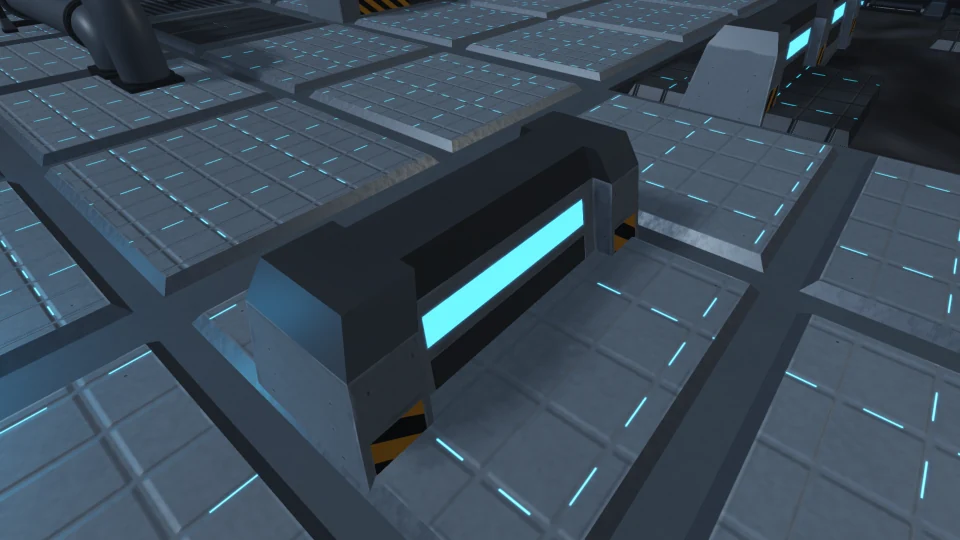
COVER
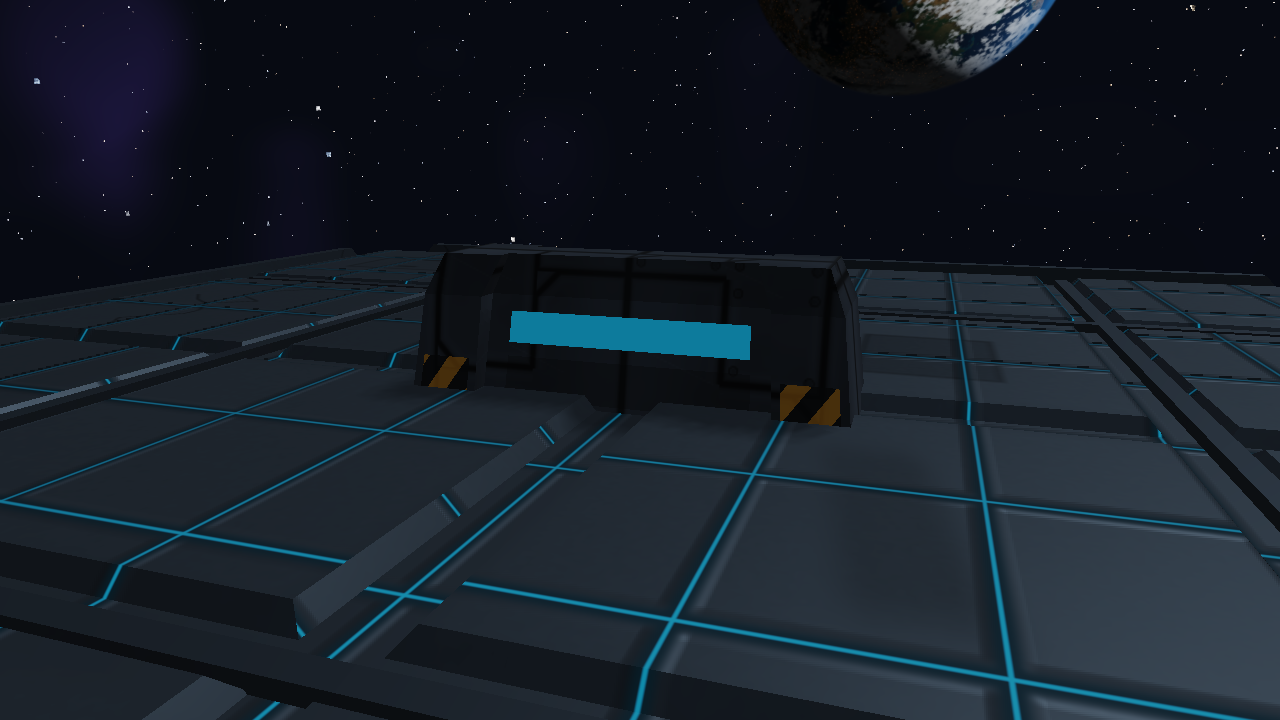
A compact line-of-fire break.
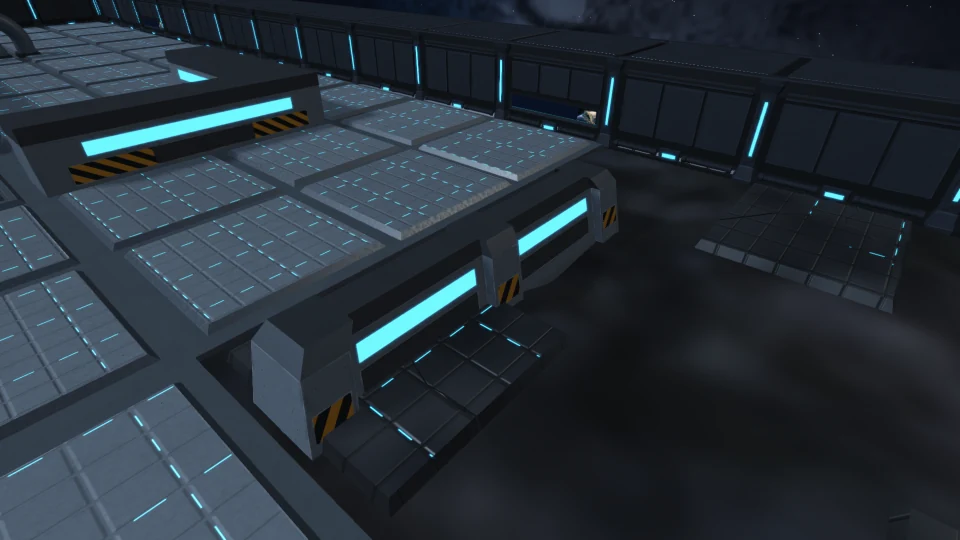
COVER
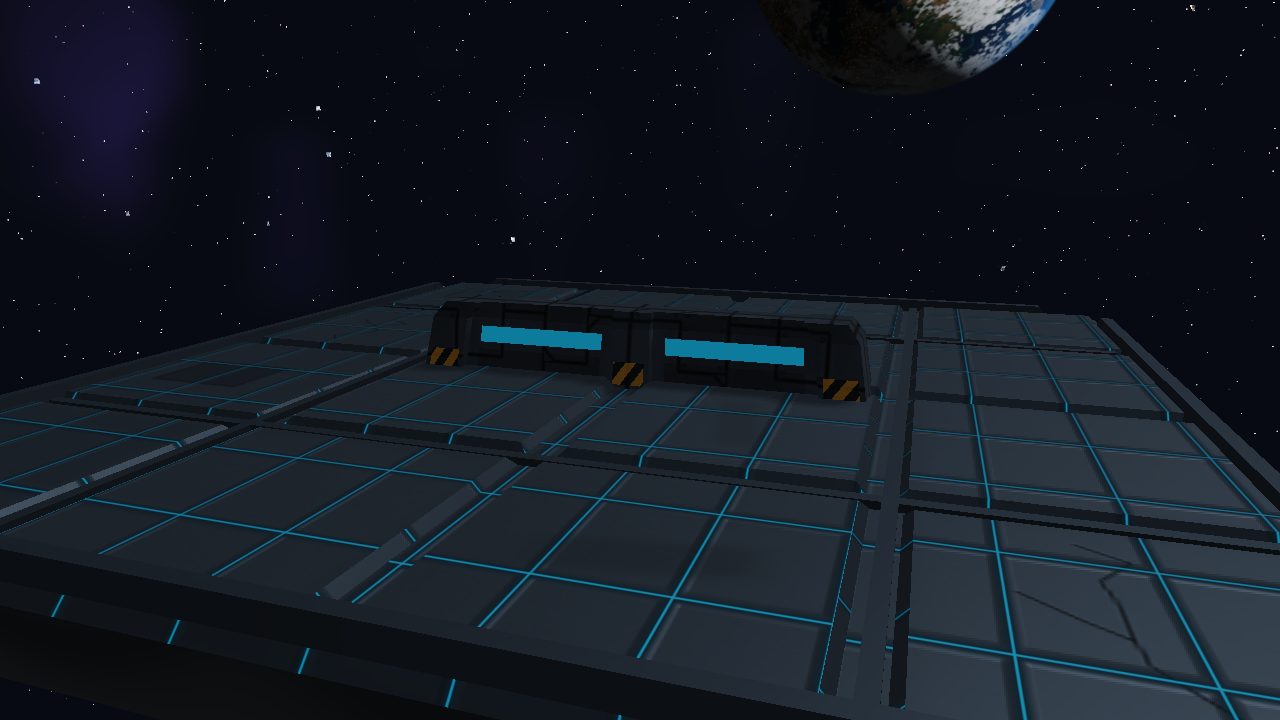
An extended screen that shapes a firing lane.
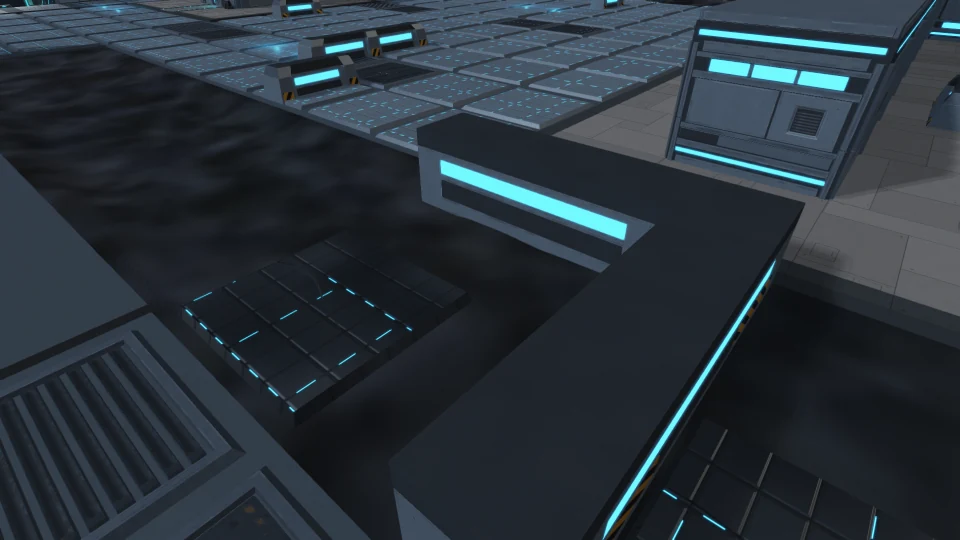
COVER
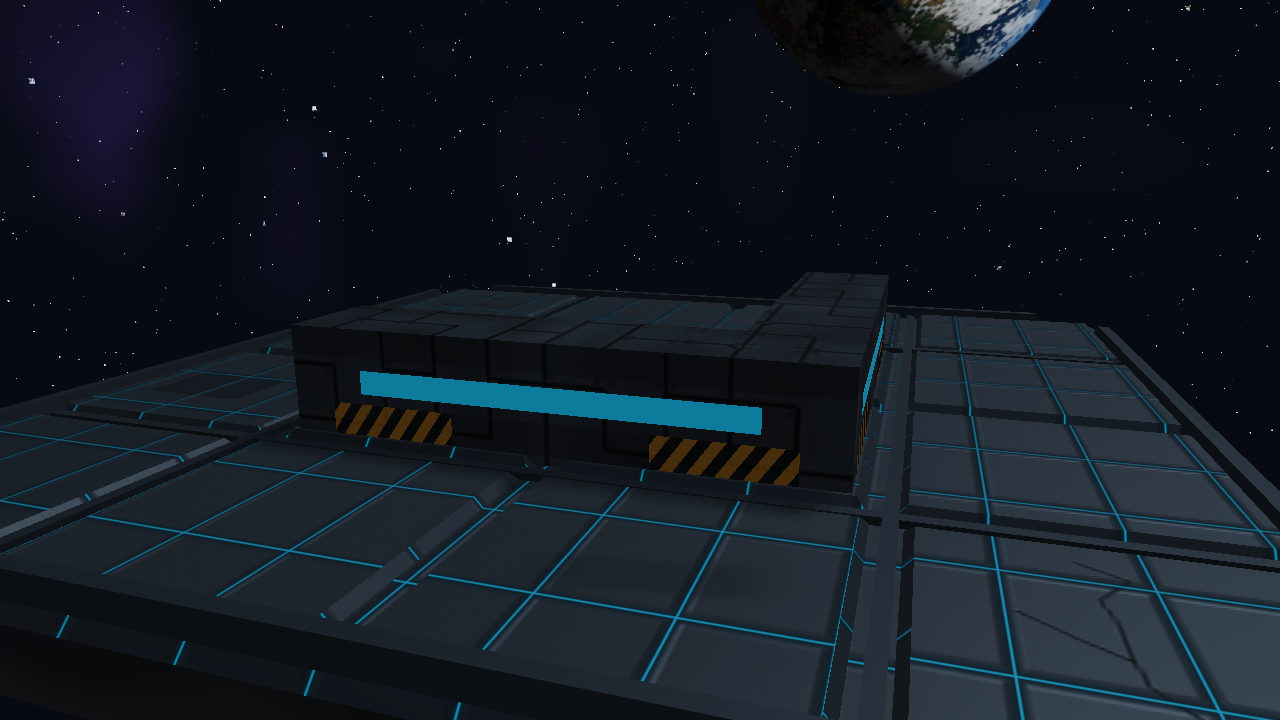
An L-shaped screen with one open tactical quadrant.
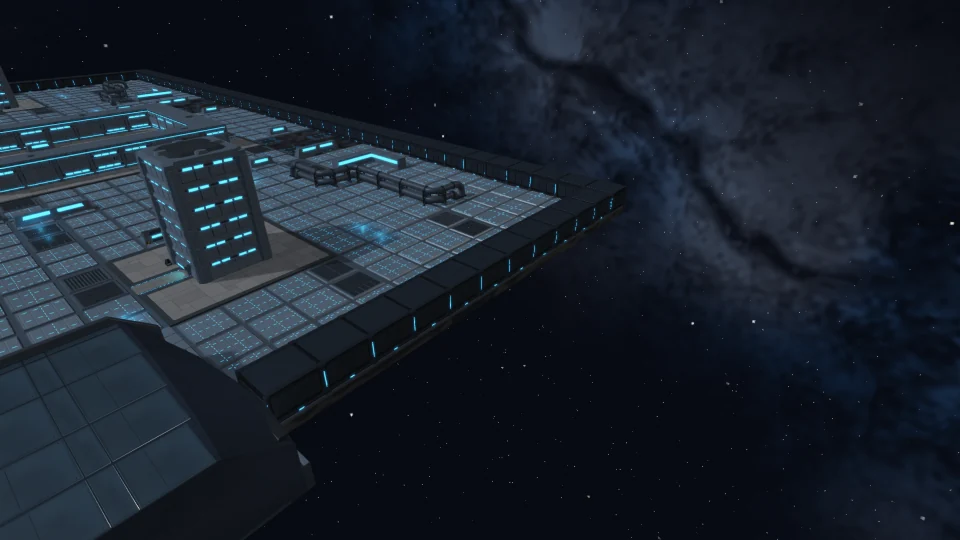
ARENA EDGE
A raised physical edge that contains the battle platform.
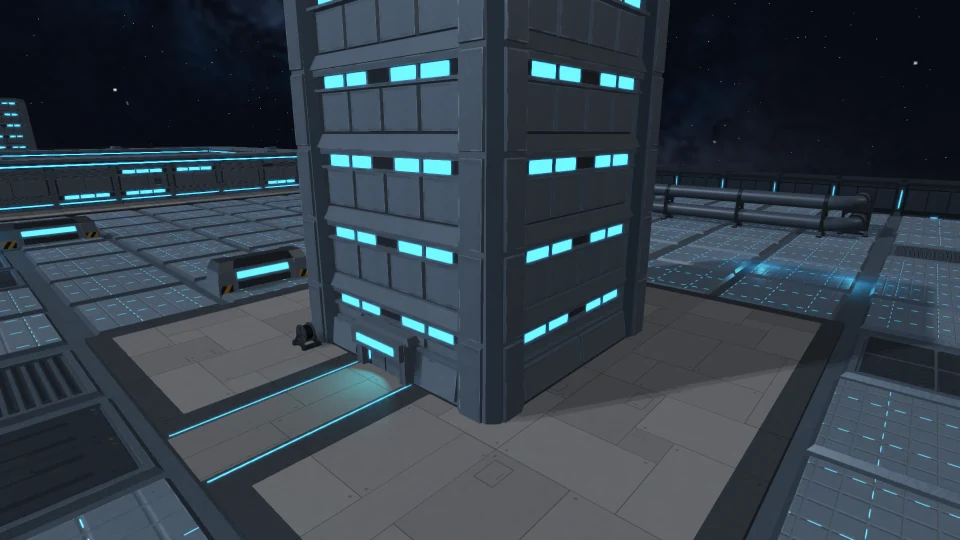
STRUCTURE
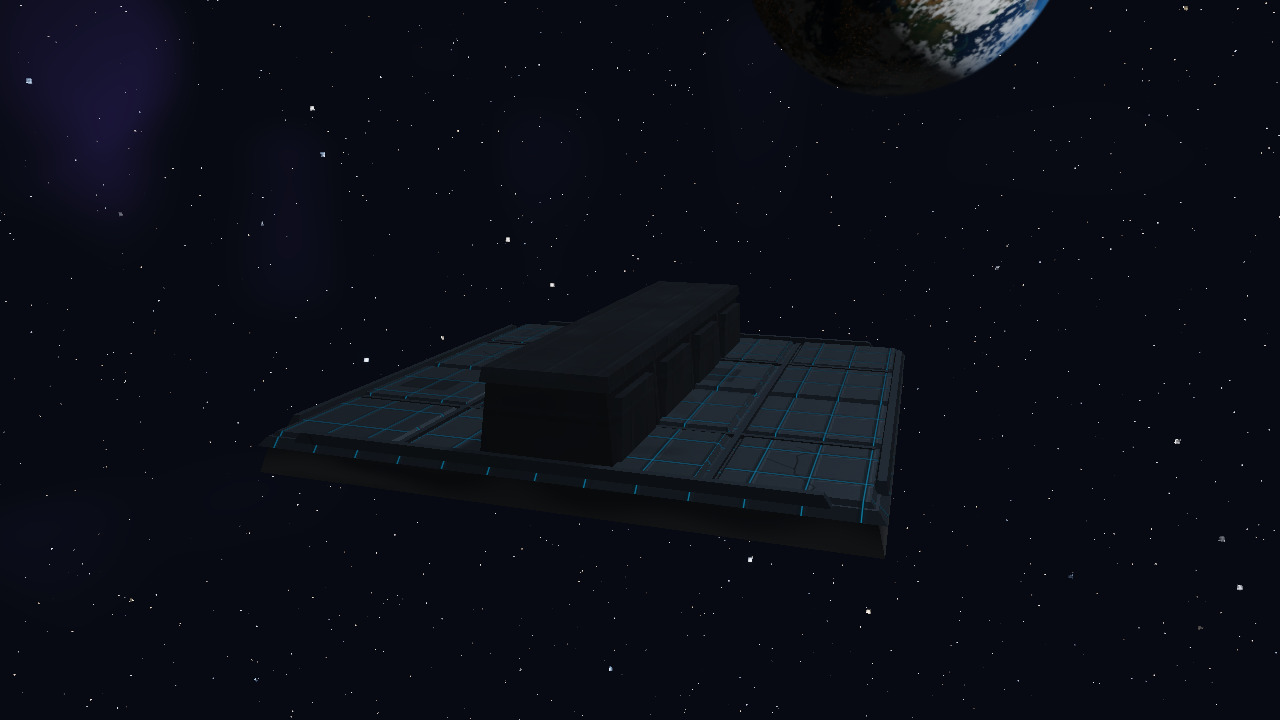
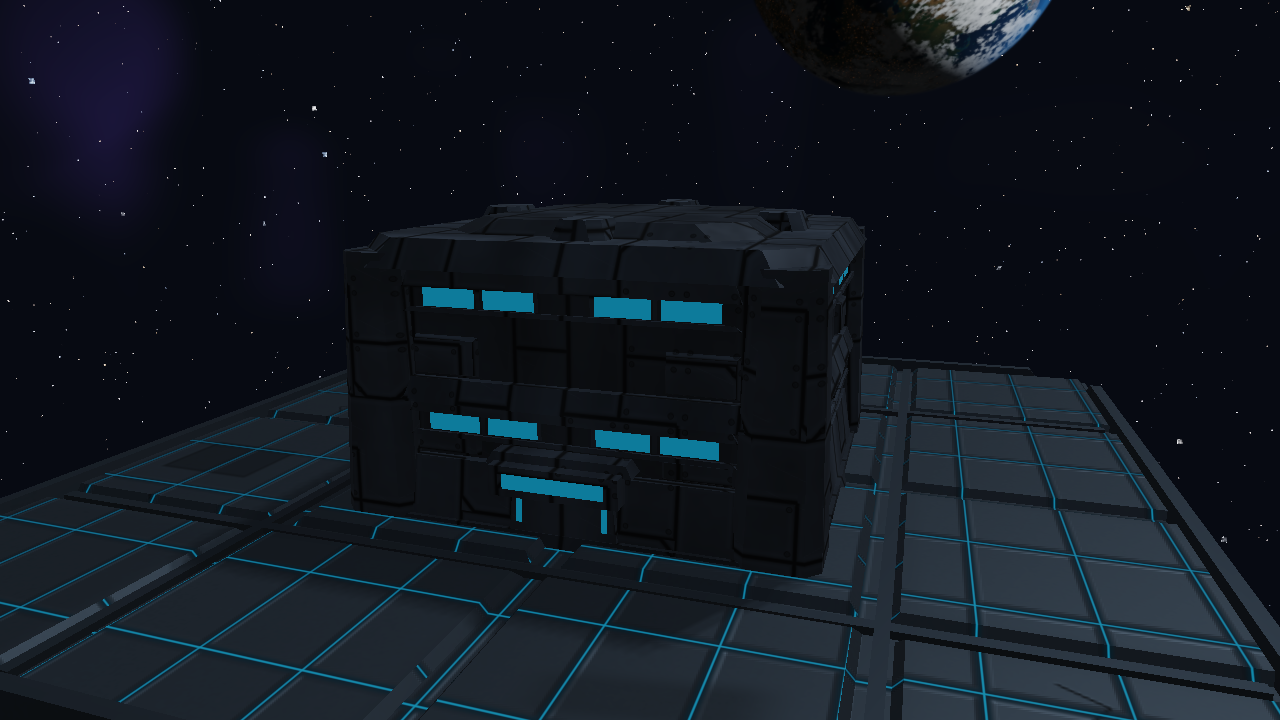
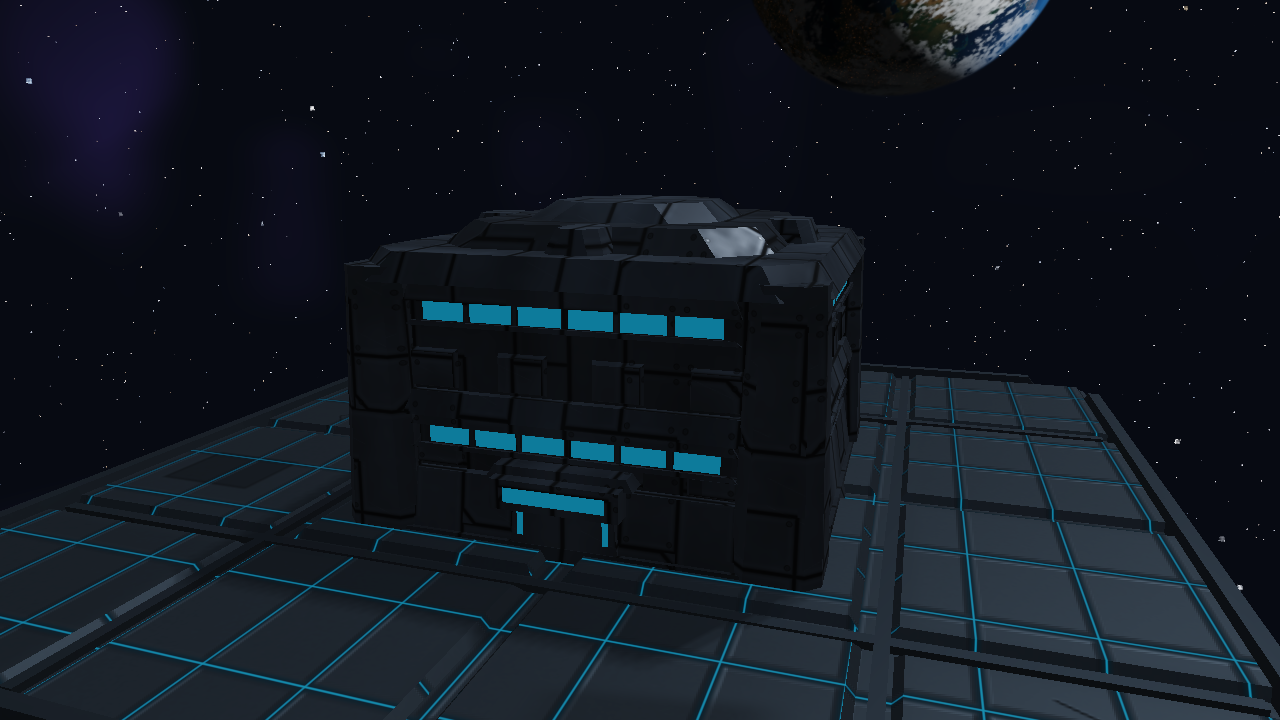
A sealed two-level navigation and visibility block.
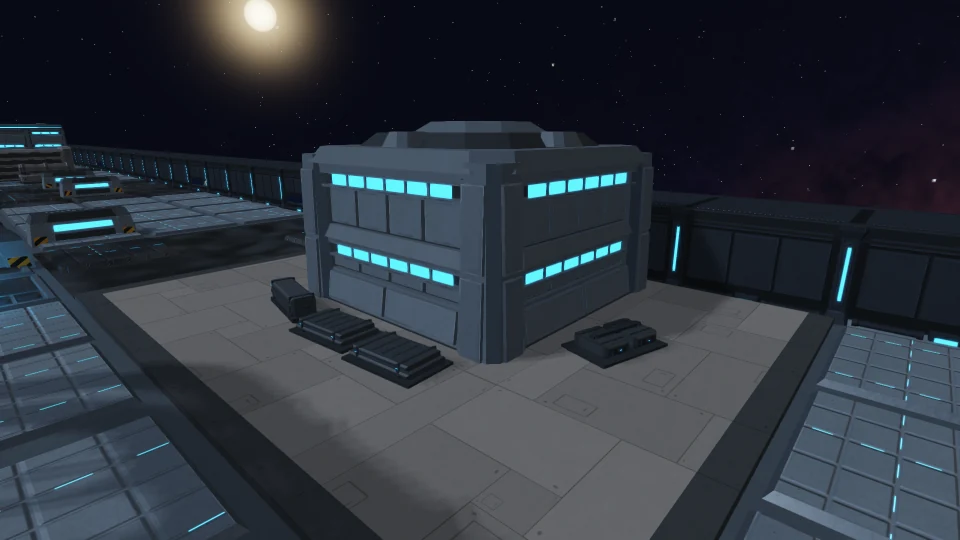
STRUCTURE
The taller Hab silhouette and a major sightline break.
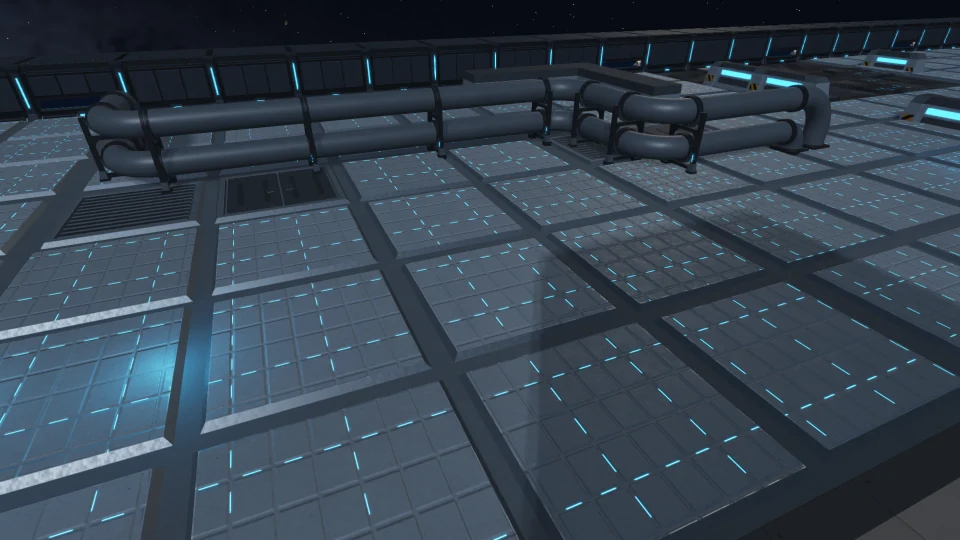
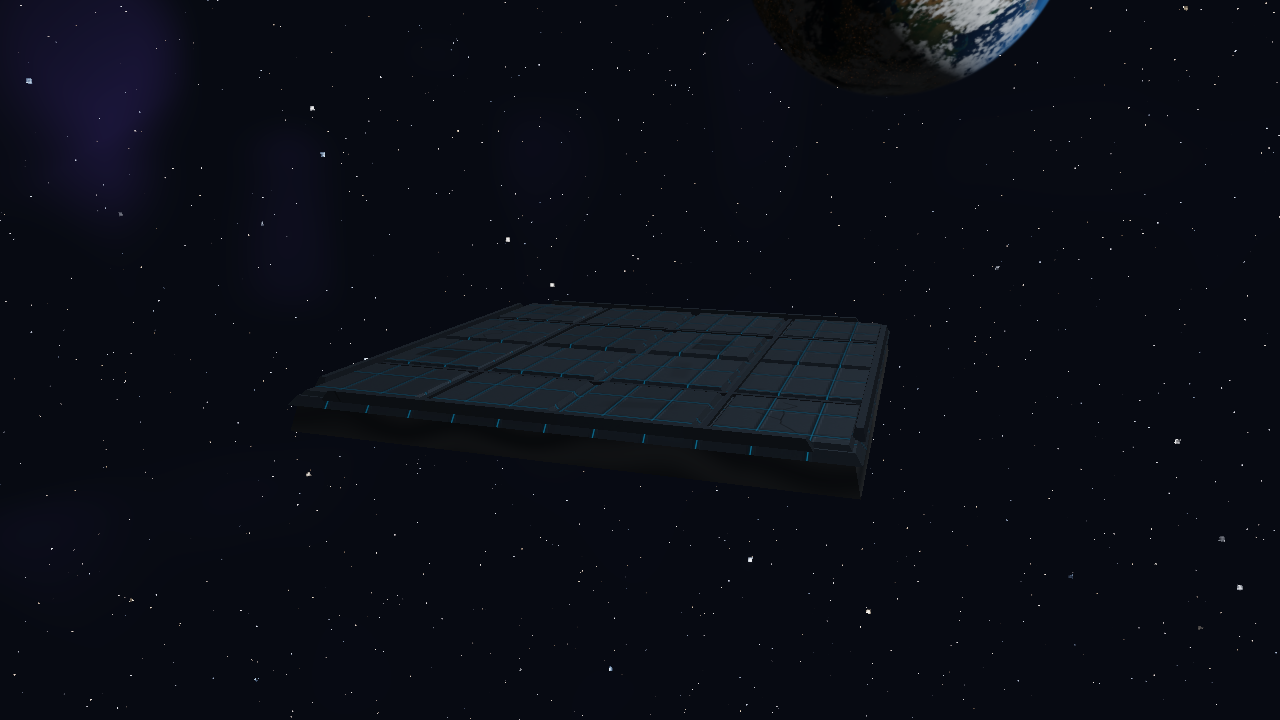
DECK
The common traversable foundation of an arena.
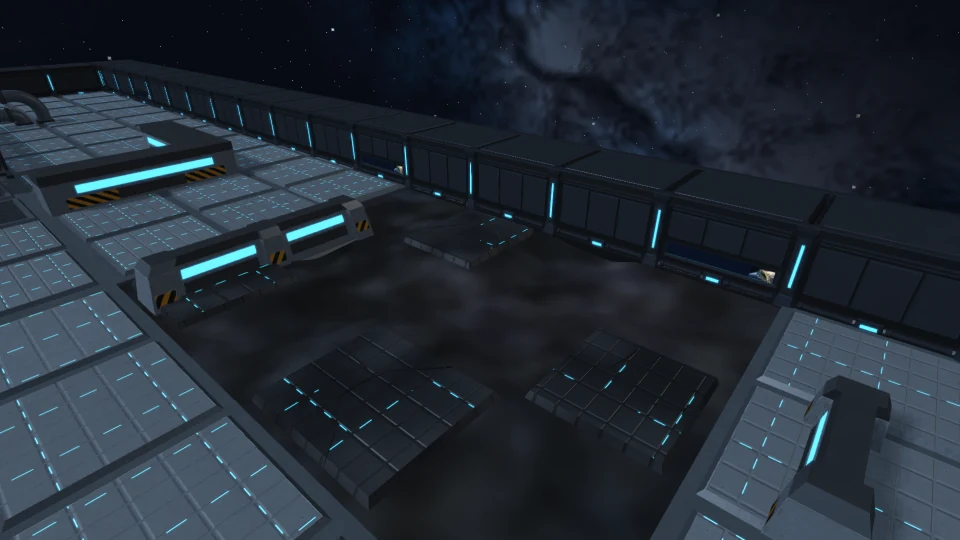
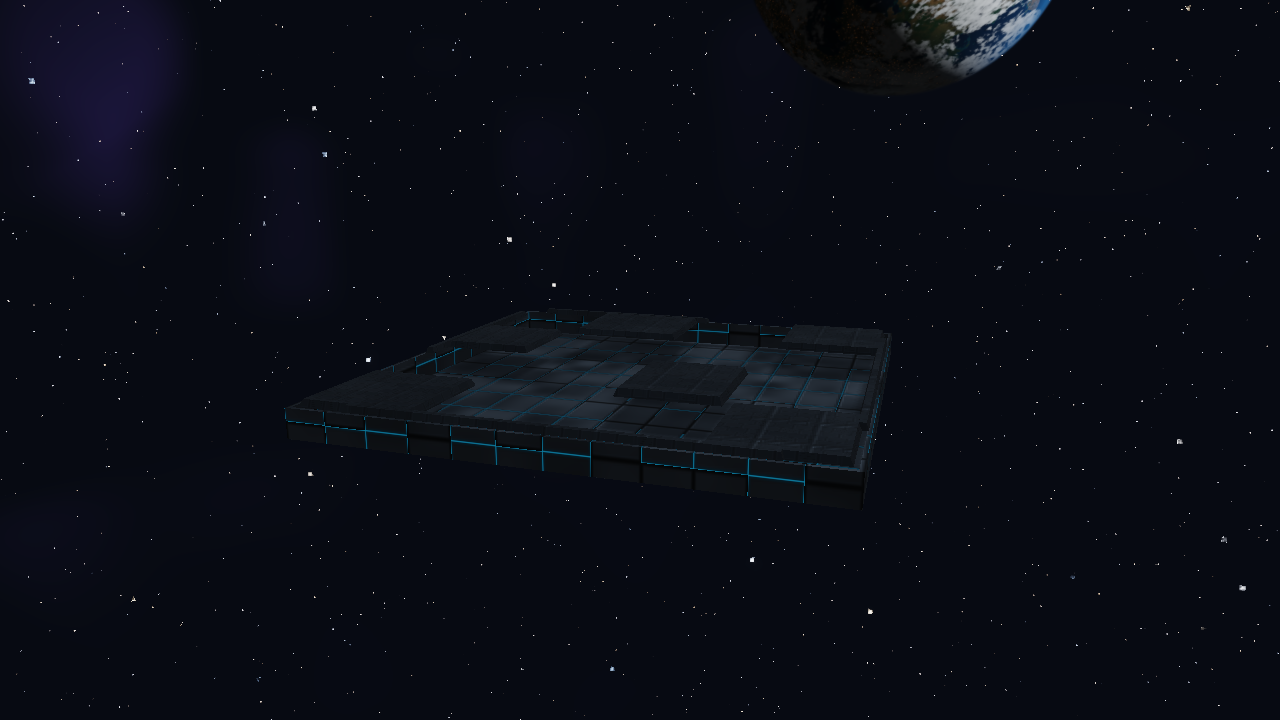
DAMAGED DECK
Traversable battle damage with exposed planetary substrate.
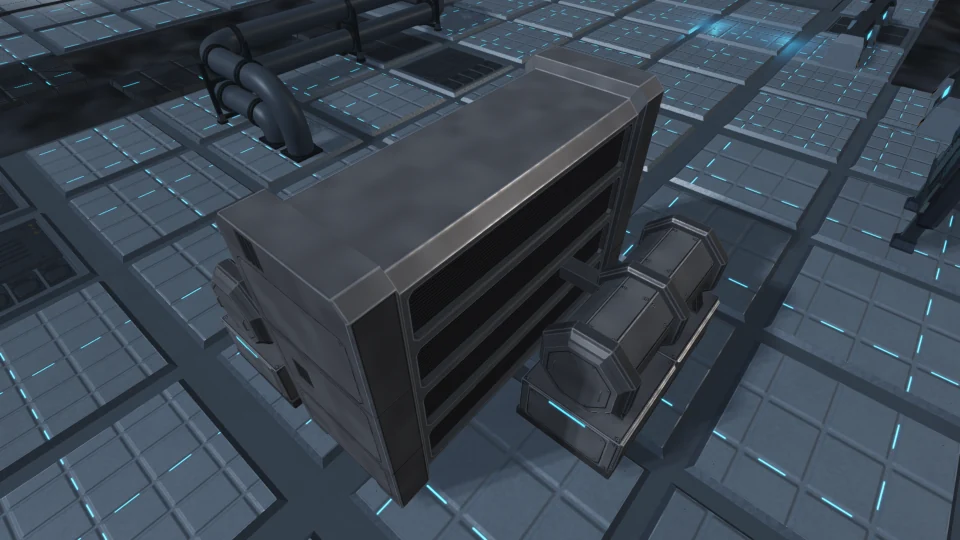
LANDMARK
A route separator and substantial visibility break.
Buildings, cargo and machinery divide the arena into firing lanes and sheltered approaches. Watch the gaps between them for flanking ships.
Crown influence lights some building windows green. Roots influence lights them red. Neutral windows can glow cyan. Recharge at a friendly hangar or a connected tower.
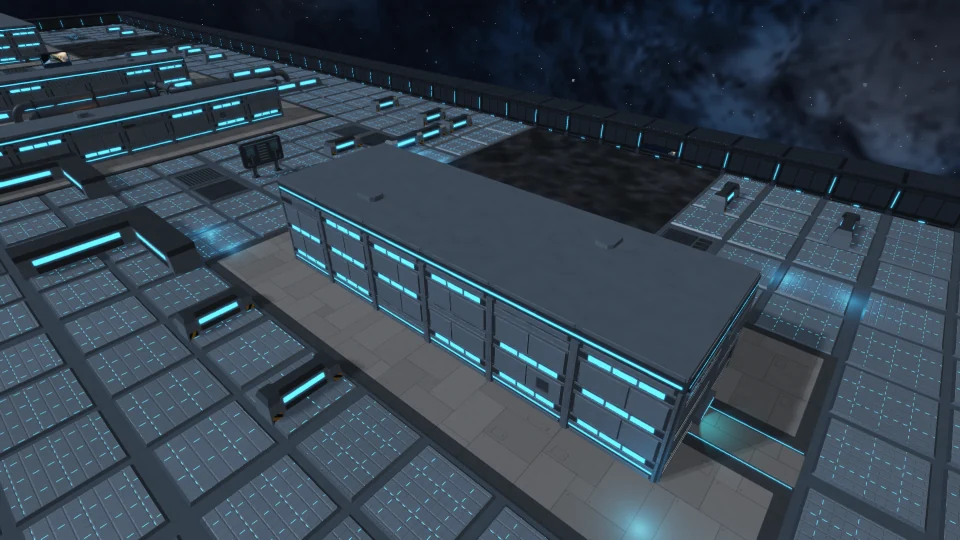
A long building that separates parallel lanes. Fly around either end to reach the other side.
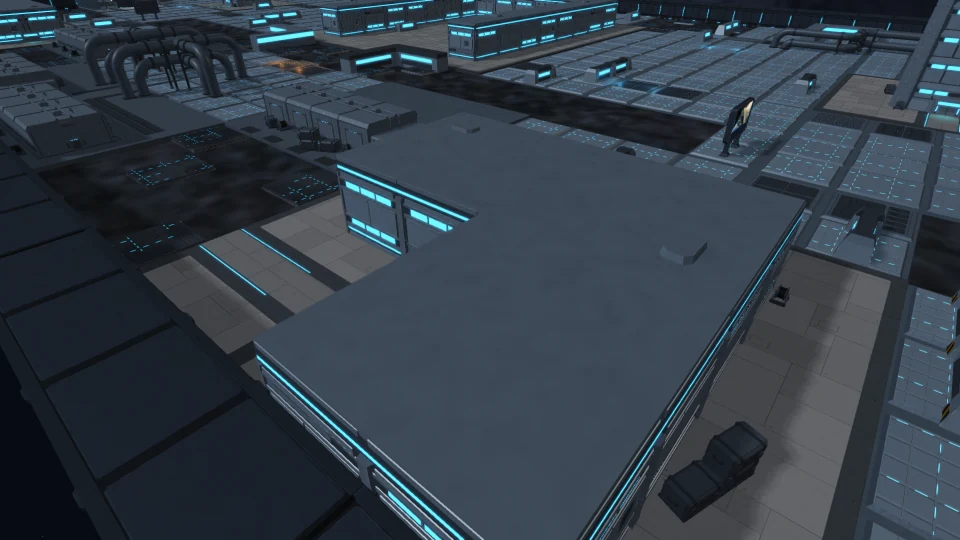
Two wings form a sheltered corner. Use the inside bend for cover and watch both approaches.
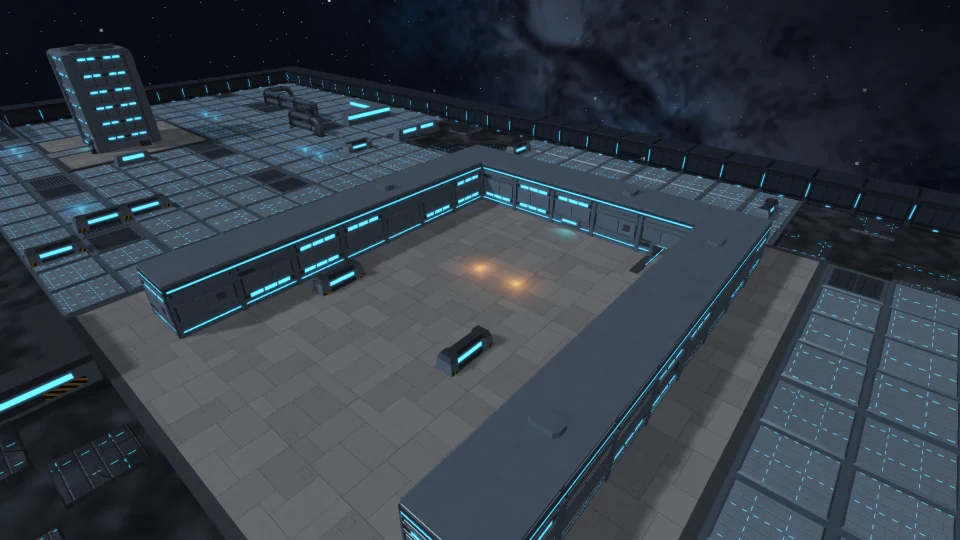
An open courtyard with a narrow tunnel through its rear wall. The tunnel fits one ship; the surrounding rooms are sealed.
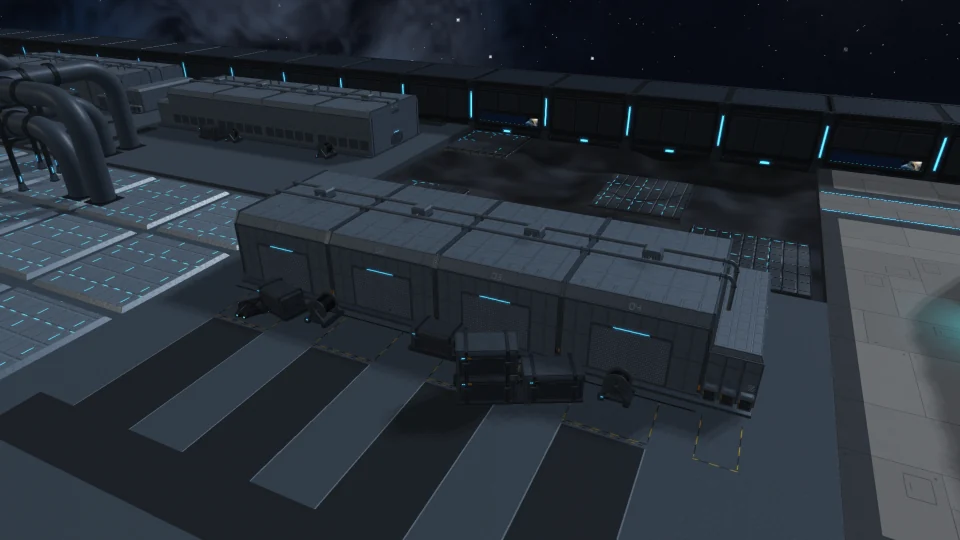
A wide industrial hall surrounded by equipment and marked paving. Its walls and corners provide cover.
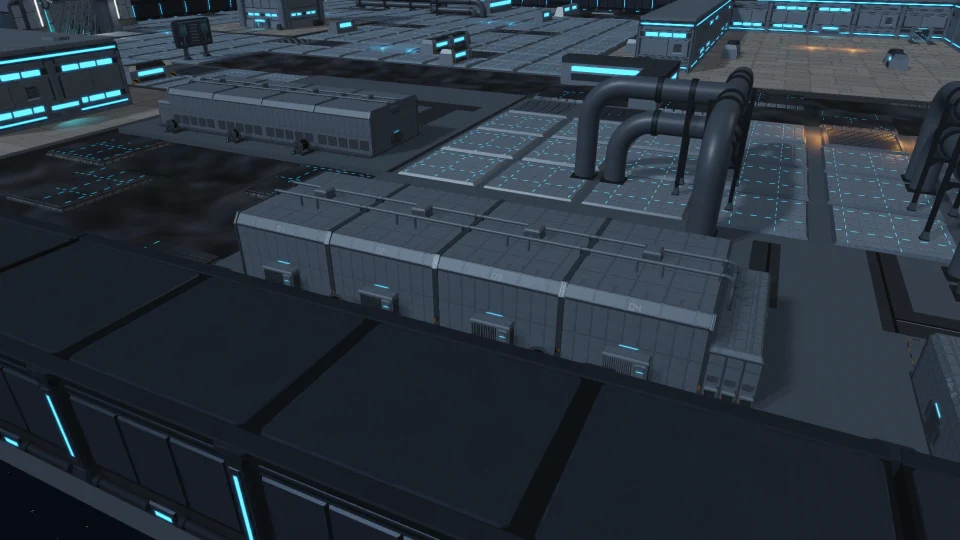
A hall surrounded by electrical equipment and service housings. Fly around its solid walls; recharge at nearby connected towers.
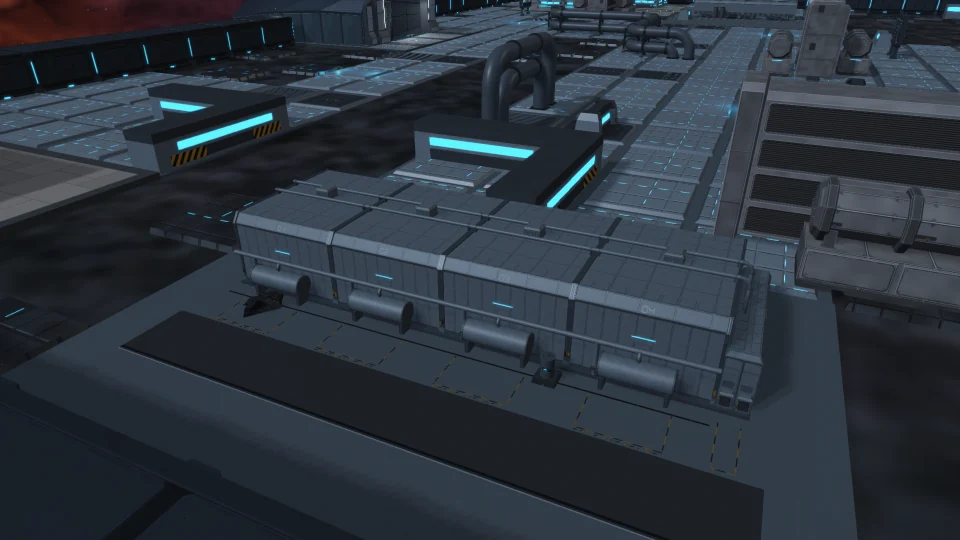
A hall surrounded by pumps, pipes and drainage channels. The machinery blocks sight lines and narrows the approaches.
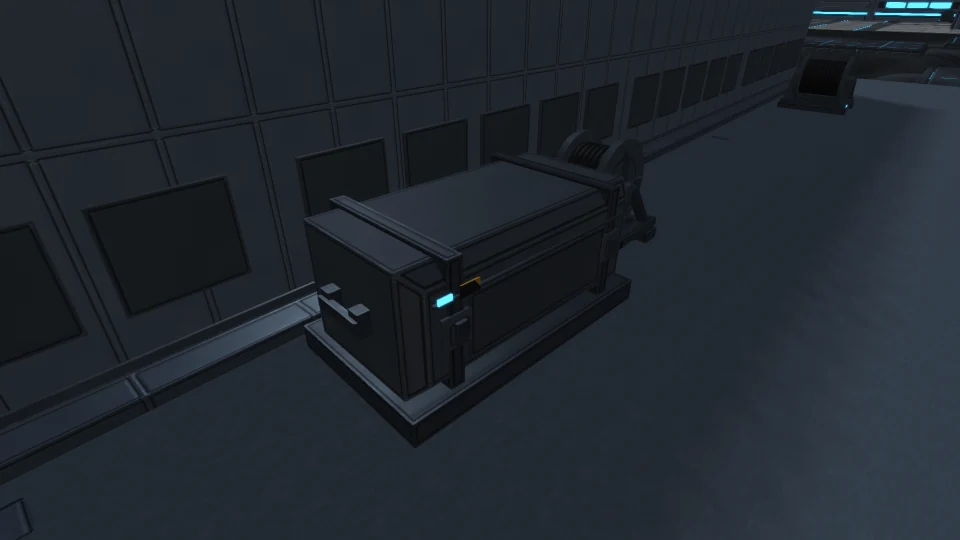
Sealed containers ranging from small cases to tall stacks. Larger stacks can shelter your ship from incoming fire.
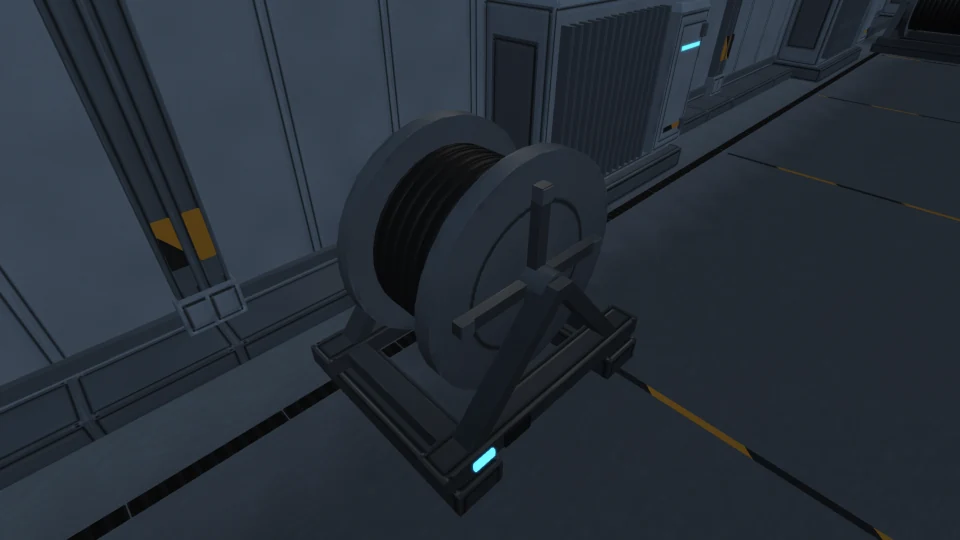
Large spools of cable on solid supports. Watch for them beside service buildings and along narrow routes.
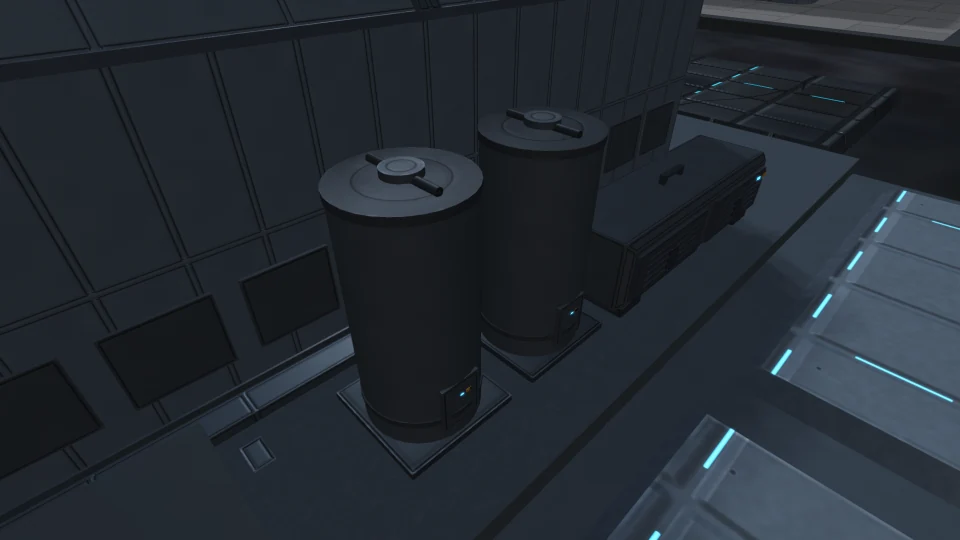
Upright and horizontal tanks with pipes and supporting feet. Leave room to steer around the fittings.
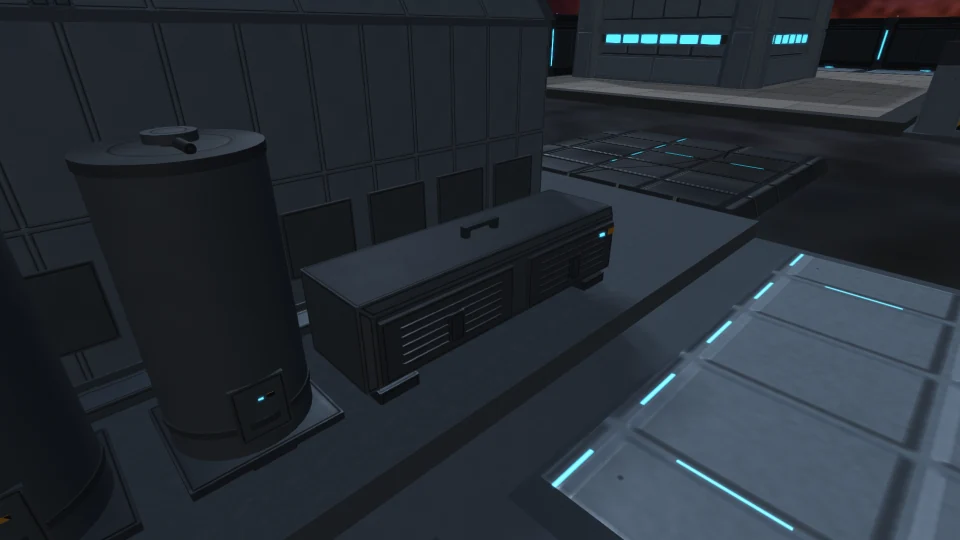
Equipment cabinets and service chests beside industrial buildings. Small groups can obstruct a tight turn.
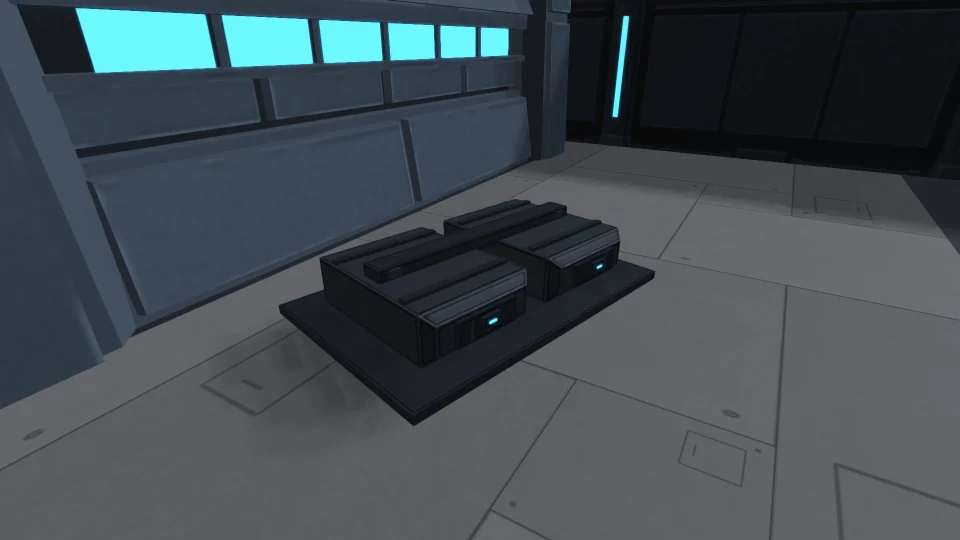
Scattered machinery and heaps of discarded metal. Steer around the solid pieces when crossing a debris field.
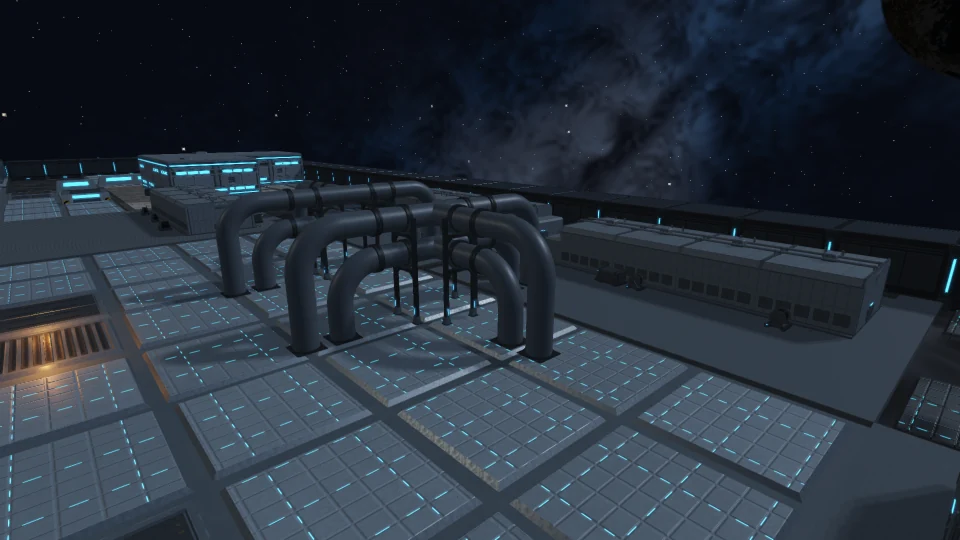
Raised pipes run in stacked layers, joined by bends and branches. Fly through the open gaps and avoid the tubes and supports.
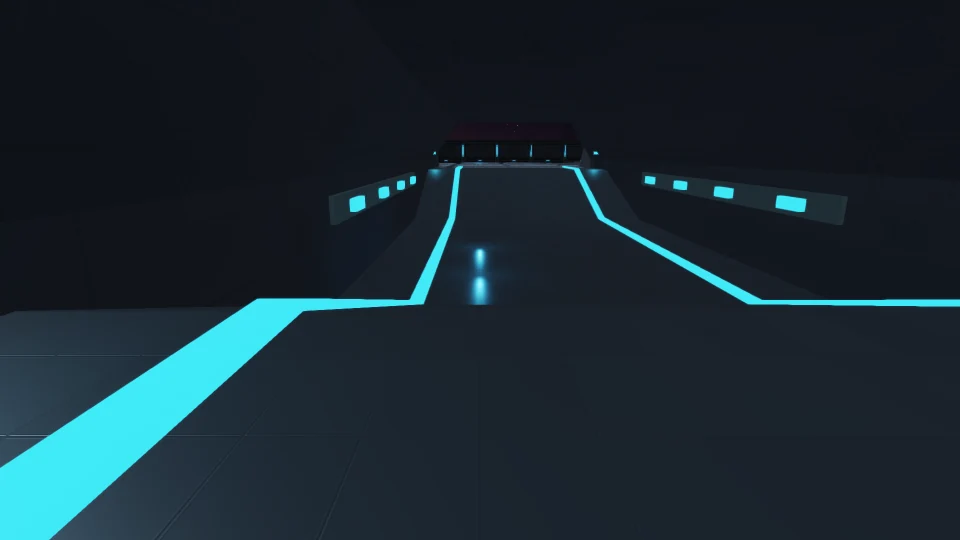
Ramps descend to a relay beneath a through-tunnel. Some arenas also leave an outside approach; others funnel ships through the tunnel. Use the ramps for height changes.
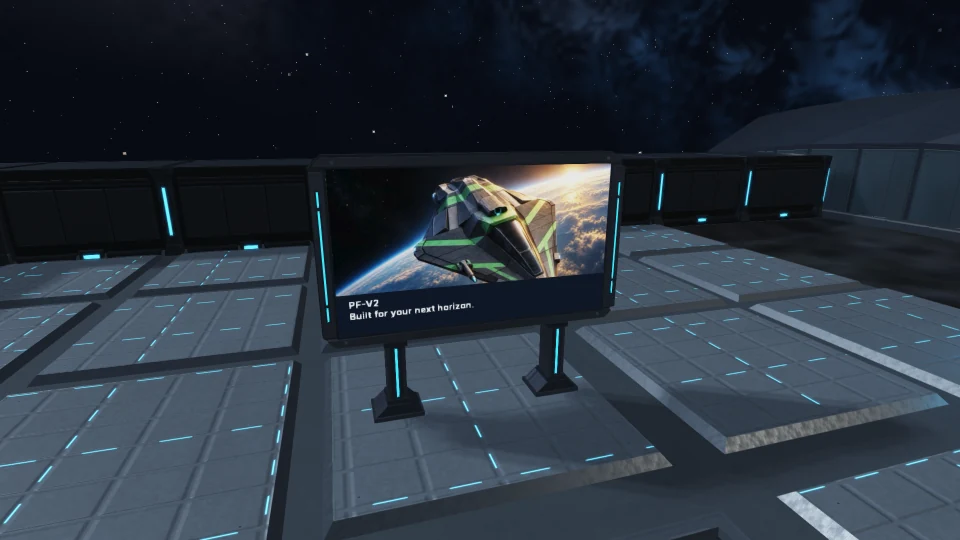
An illuminated advertising screen above a platform. Watch for ships passing behind its frame and supports.
DEPLOYABLE TURRETS
Turrets defend a route automatically, but every position depends on your Grid. The battle continues while you place one: put your ship somewhere safe first.
Enter Tactical view, then open Turrets with G or the controller's north face button. Choose a turret type, move and rotate the preview, then confirm. Follow the on-screen controls for your bindings. Cancel to return to flight without placing anything.
Use clear terrain or a platform within 180 units of your ship, near a living, connected friendly node. Roofs, protected objectives and obstructed sites are not valid. Keep at least 96 units from every other turret. The preview explains why a position is rejected.
The turret takes five seconds to materialise. Once accepted, it finishes even if Grid supply is lost. It remains vulnerable, and damage carries into the finished turret. Construction pauses before the frame becomes solid if a ship is in the way.
A completed turret starts with an empty capacitor. It can fire only after receiving enough energy. You have three allocations and your team has eighteen; confirm a relocation to replace your oldest turret. Destroyed or retired allocations have a short replacement cooldown.
The nearest eligible friendly node supplies full service within 240 units. Service fades between 240 and 480 units; outside that reach it stops. Walls can block the connection, and overlapping sources do not stack. The placement overlay shows the supplier and service strength.
Losing supply stops capacitor recharge; restoring supply resumes it. Turret materialisation continues without supply, but pauses if a ship blocks the space it needs. A charged turret can still spend its stored energy, so use cover while attacking the frame or its supporting node.
Crown accents are green; Roots accents are red. Amber signals interrupted service. Cannon and Laser turrets can fight other solid hostile turrets; both missile configurations hunt ships. All need a valid target in range and a clear firing line.
The chassis, cradle and weapon head break apart when a turret is destroyed. The foundation remains while the pieces settle and clear. The wreck cannot keep firing; allow room around the impact.
TEAM COORDINATION
Aim at eligible infrastructure, then press H or hold the controller Left Stick for 0.35 seconds. On controller, point with the right stick and release the held wheel button to apply. Centre the stick to clear a directional choice; releasing with nothing selected simply closes it. Keyboard H toggles the wheel: choose with arrows or mouse, then confirm with Enter or South. The wheel starts with no selection. Each slice shows what it needs; highlight an unavailable slice to see what must change. All four slices use the same captured target. D-pad Down sends Quick Attack directly; it is not a target-selection step. Esc, the East face button or the wheel binding closes it without sending.
The match keeps running while the wheel is open. It takes over flight, aim, fire and equipment input; momentum and incoming damage continue. Release your controls before resuming flight.
Ask available Agents to attack a completed enemy relay or field Power Core. Ordinary shields, weapons, energy and approach routes still apply. The request lasts up to 60 seconds.
Ask available Agents to patrol a living friendly node or hangar and respond to threats for 30 seconds.
Select an isolated friendly branch. Agents must rebuild the missing nodes through ordinary construction and energy use. The HUD names the current node and remaining work. Power returning to the selected branch completes the request; an obstructed route can make it unavailable.
Gather at a powered friendly node or living friendly hangar. Assigned responders must reach their clear rally areas and hold for five continuous seconds. Departure, combat or energy recovery restarts the hold. No responders means no completion.
There is one active request per team. Only its issuer can replace or cancel it, with two seconds between new requests. Inside the wheel, G or North selects Acknowledge; Delete or West selects Cancel current. Primary Fire (Space / Right Trigger) selects Place Relay; confirm to build at the nearest valid socket. Selection alone spends nothing. Apply footer choices by releasing the held wheel button, or with Enter / South in toggle mode. Acknowledging is voluntary, lasts ten seconds and never takes over your ship.
Acceptance does not mean Agents are already responding. Open the wheel to read the current travelling, holding, recovering and unavailable counts; an accepted request may have no Agents assigned. Critical defence, survival and energy needs can take priority. Only your team sees its request and response status. Detailed response counts stay inside the wheel. Pending and outcome notices appear briefly after closing it, alongside the compact target marker. Death, disconnect, control transfer or a new battle clears stale requests and acknowledgements.
ENERGY & POWER
Movement, boosting, weapons, relay construction, Shield recharge and recovery all depend on energy. The hangar and nearby powered friendly sockets restore it. Supply weakens toward the edge of coverage and overlapping friendly sources do not stack.
One boost commits roughly a third of maximum ship energy. At zero energy the Pulseframe keeps emergency movement, but only at a visible crawl, and cannot fire until enough energy is available for a shot.
Three cells begin charged. Friendly supply first protects a useful ship-energy reserve, then charges incomplete cells. Kinetic and EMP each reserve one charged cell plus ship energy; a Decoy Flare spends one cell and less ship energy on its own recovery timer.
Death preserves remaining cell charge and partial progress. A pending launch is cancelled.
Shield absorbs damage first; damage beyond it reduces Hull Integrity. A destroyed ship waits for a clear reconstruction bay and returns in the same team slot. If your hangar core is destroyed, respawns are locked until your team reclaims it. Surviving teammates can keep fighting.
Commissioned hostile relays and power cores drain nearby intruders. Move through cover, attack from a viable supplied route and retain enough energy to get home. A disconnected hostile tower is dormant. Only the qualifying root-adjacent relays protect its hangar; unrelated field towers can remain during the base assault.
Every friendly operational link back to the hangar keeps the branch powered.
Isolation changes power immediately; surviving towers remain physical obstacles and still earn ownership score.
The farther powered relay screens inward. Equal-depth cross-links do not screen either tower.
FINAL ASSAULT
Each hangar has 30 seconds of opening protection. After that, cut, destroy or take over every qualifying relay directly connected to its root. A qualifying relay must be friendly, complete, alive and powered. Remote relays and field Power Cores do not count.
The HUD changes the enemy hangar defence state and its energy bulkhead drops.
Fire through the open doorway until reactor integrity reaches zero. Core destruction locks the defenders’ respawns. The damaged reactor remains visible, but no longer blocks shots or movement.
Capture begins automatically. There is no capture button.
Stay inside and alive for five seconds of uncontested progress. Both teams inside freezes progress; it resumes when the opposition leaves. Leaving or being destroyed interrupts and resets the attempt.
Defenders can reclaim the core. Clear every attacker from your disabled core’s zone, then hold it with a surviving friendly ship for the same five-second duration. Reclamation restores the core and respawns and continues the battle. Building new field towers after core destruction does not cancel either side’s core-room objective.
Use cover to preserve the energy and ships needed for the hold, not only for the reactor burst.
Target cues, line of sight and energy state matter more than firing every weapon immediately.
COMBAT LANGUAGE
The current route—extend supply, cut a defensive branch, disable the core, capture or reclaim. Follow this first.
After opening protection: two or more qualifying root-adjacent relays mean Fortified, one means Vulnerable, and none means Exposed. You can damage the core only while the hangar is Exposed.
An owned structure is powered when it has an active friendly path to its hangar root; otherwise it is isolated.
A relay field supplied by a farther powered friendly relay. It is normally invisible and briefly reveals where a hostile shot lands.
The remaining physical health of a relay, core tower or exposed reactor.
Identity, range, bearing, line of sight, lock progress and intercept cue for the selected hostile.
Three finite secondary-weapon stores, each shown as charged, charging or empty.
One shared Attack, Defend, Reconnect or Regroup request. Its marker and live response counts help coordinate available Agents; acceptance alone does not guarantee a response.
Complete, living owned relays and field cores earn points even while isolated. At timeout, the game compares hangar integrity, defence, connected cores, powered reach, ownership points and surviving ships, in that order. An exact tie is a draw; kills are not match points.
An Operator is human. An Agent flies an unclaimed stable slot under the same battle rules until a human takes control.
ACCOUNT & AVAILABILITY
GAME VERSION
LAN players and servers need matching game versions. The game shows your installed version in its main menu.
AVAILABILITY
Choose an available server from inside the game. Check the server directory before joining. Local and LAN play do not require an Operator account.
ONGOING BATTLES
Take an Agent’s place on its team and continue the battle with its ship. When you leave, the Agent takes over again.
EPIC SIGN-IN
If you have access to an Epic build, launch it from Epic Games Launcher and follow the Operator setup shown in the game. Use Official Play and Quick Play to join an available match. Official play checks your Operator and game access. Local and LAN play remain available without signing in.
YOUR OPERATOR
Sign in on Account with the account linked to your existing Operator. You do not need a device code when the game already shows the correct Operator. If the game asks for a code, use the optional game sign-in section on Account. Never post sign-in or recovery codes on the Board.
OPERATOR CAREER
Earn permanent career points in ranked official matches. See your rank and progress on the Players page.
Control your ship for at least 45% of the entire round and stay until it ends. If you join late or reconnect, you still need to meet that requirement across the full round. Time spent disconnected or under bot control does not count.
Sign in with your Operator account and complete a ranked match on an official server. You can earn points when playing with bots, even if you are the only human player.
Earn points for completing rounds, winning, securing objectives and assisting your team. Kills alone add no rank points. Your total career points determine your rank and carry across seasons.
Your Operator record shows earned points, current rank and progress to the next rank. Rank does not affect your ship’s equipment or combat strength.
PLAYING TOGETHER
Use Looking for group to arrange games or recruit for a clan. Browse the clan directory and sign in to see your membership, invitations and eligibility. Clan membership does not automatically put you in the same match; use the game's party controls to play together.
The Clans page shows the rank, qualifying-game and distinct-day requirements for joining or creating a clan, plus your progress. You may belong to one clan. Check its current capacity before inviting someone. Local and LAN games do not count toward clan eligibility.
The owner can appoint officers, who can invite and remove ordinary members. Invitations and join requests expire after seven days. Ownership moves only when an eligible existing member accepts the proposal. The owner must transfer ownership or disband before leaving; the confirmation screen explains the change.
Clan roles grant no Community staff powers or combat advantage. Use Report on a clan for a private naming concern; use Report on a Board post for its content. Do not put credentials or private contact details in recruitment posts. Visit Support for appeals or help outside those controls.
COMMUNITY EXPECTATIONS
No harassment, hate, threats, sexual content, doxxing, impersonation, spam or cheating. Report exploits privately; do not publish personal information.
Your handle, account security records, Board activity, clan membership and related actions, private naming reports and their outcomes, and authoritative per-match aggregate statistics. The Community record does not need your realtime input stream or precise movement history. Read the full privacy notice.
This Community is not for children under 13. Operators aged 13–17 should participate only with a parent or guardian's permission and must not share personal details.
Use Correct post or Correct title on your own content while the discussion is open. If the saved text changed, your draft stays in the form: compare the current text, adjust your draft and save again. A correction is marked as edited; previous wording remains private to you and Community staff. Report a title or an individual post using its own Report button. For removal of private information, use Support; editing is not an erasure request.
Use Report on Board content for private moderation review. For appeals, privacy requests or help when you cannot sign in, visit Support. Keep personal information out of public posts.
Deactivation removes your old handle from public profiles and standings; retained Board posts are attributed to Former Operator. Some opaque identifiers, aggregate match evidence, private audit records and backups remain for service integrity; deactivation is not complete erasure.
CAN'T JOIN
Confirm that an official server is listed and that your complete game version matches it. If none is listed, official online play is not open at the moment.
STUCK IN BATTLE
If the base remains protected, check its qualifying root-adjacent relays and the opening protection timer. If it is exposed, disable the core. In the core room, clear opposing ships before holding capture or reclamation.
FEEDBACK
Use the Community Board for bugs and suggestions without personal details. Include what you expected, what happened and the map or match step. Use private Report for sensitive follow-up.